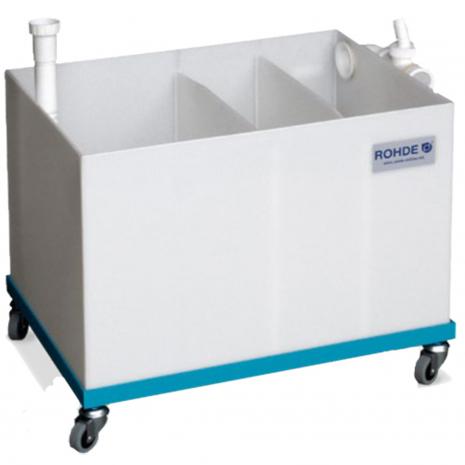
The standard, commercial sedimentation tank looks like the one on the right (this one, for example, is available from Bath Potters). It involves a plastic box with the water entering at one end and exiting the other. The box is divided into several compartments and the barriers between each compartment are at different heights. Once the first compartment fills with water, it overflows into the second compartment, and when that fills, it overflows into the next, etc. As clay material sinks in water (some quickly and some gradually), it will become sediment on the bottom of the compartments and the water that overflows to each compartment will be cleaner and cleaner.
I came up with a plan to do something similar with simple components. The first decision was to get a commercial kitchen pot cleaning sink for our pottery studio. This is made out of stainless steel and is very deep, and it comes with unusual, very tall, overflow plugs. I hadn’t seen these before but they worked out perfectly for what I needed to do.

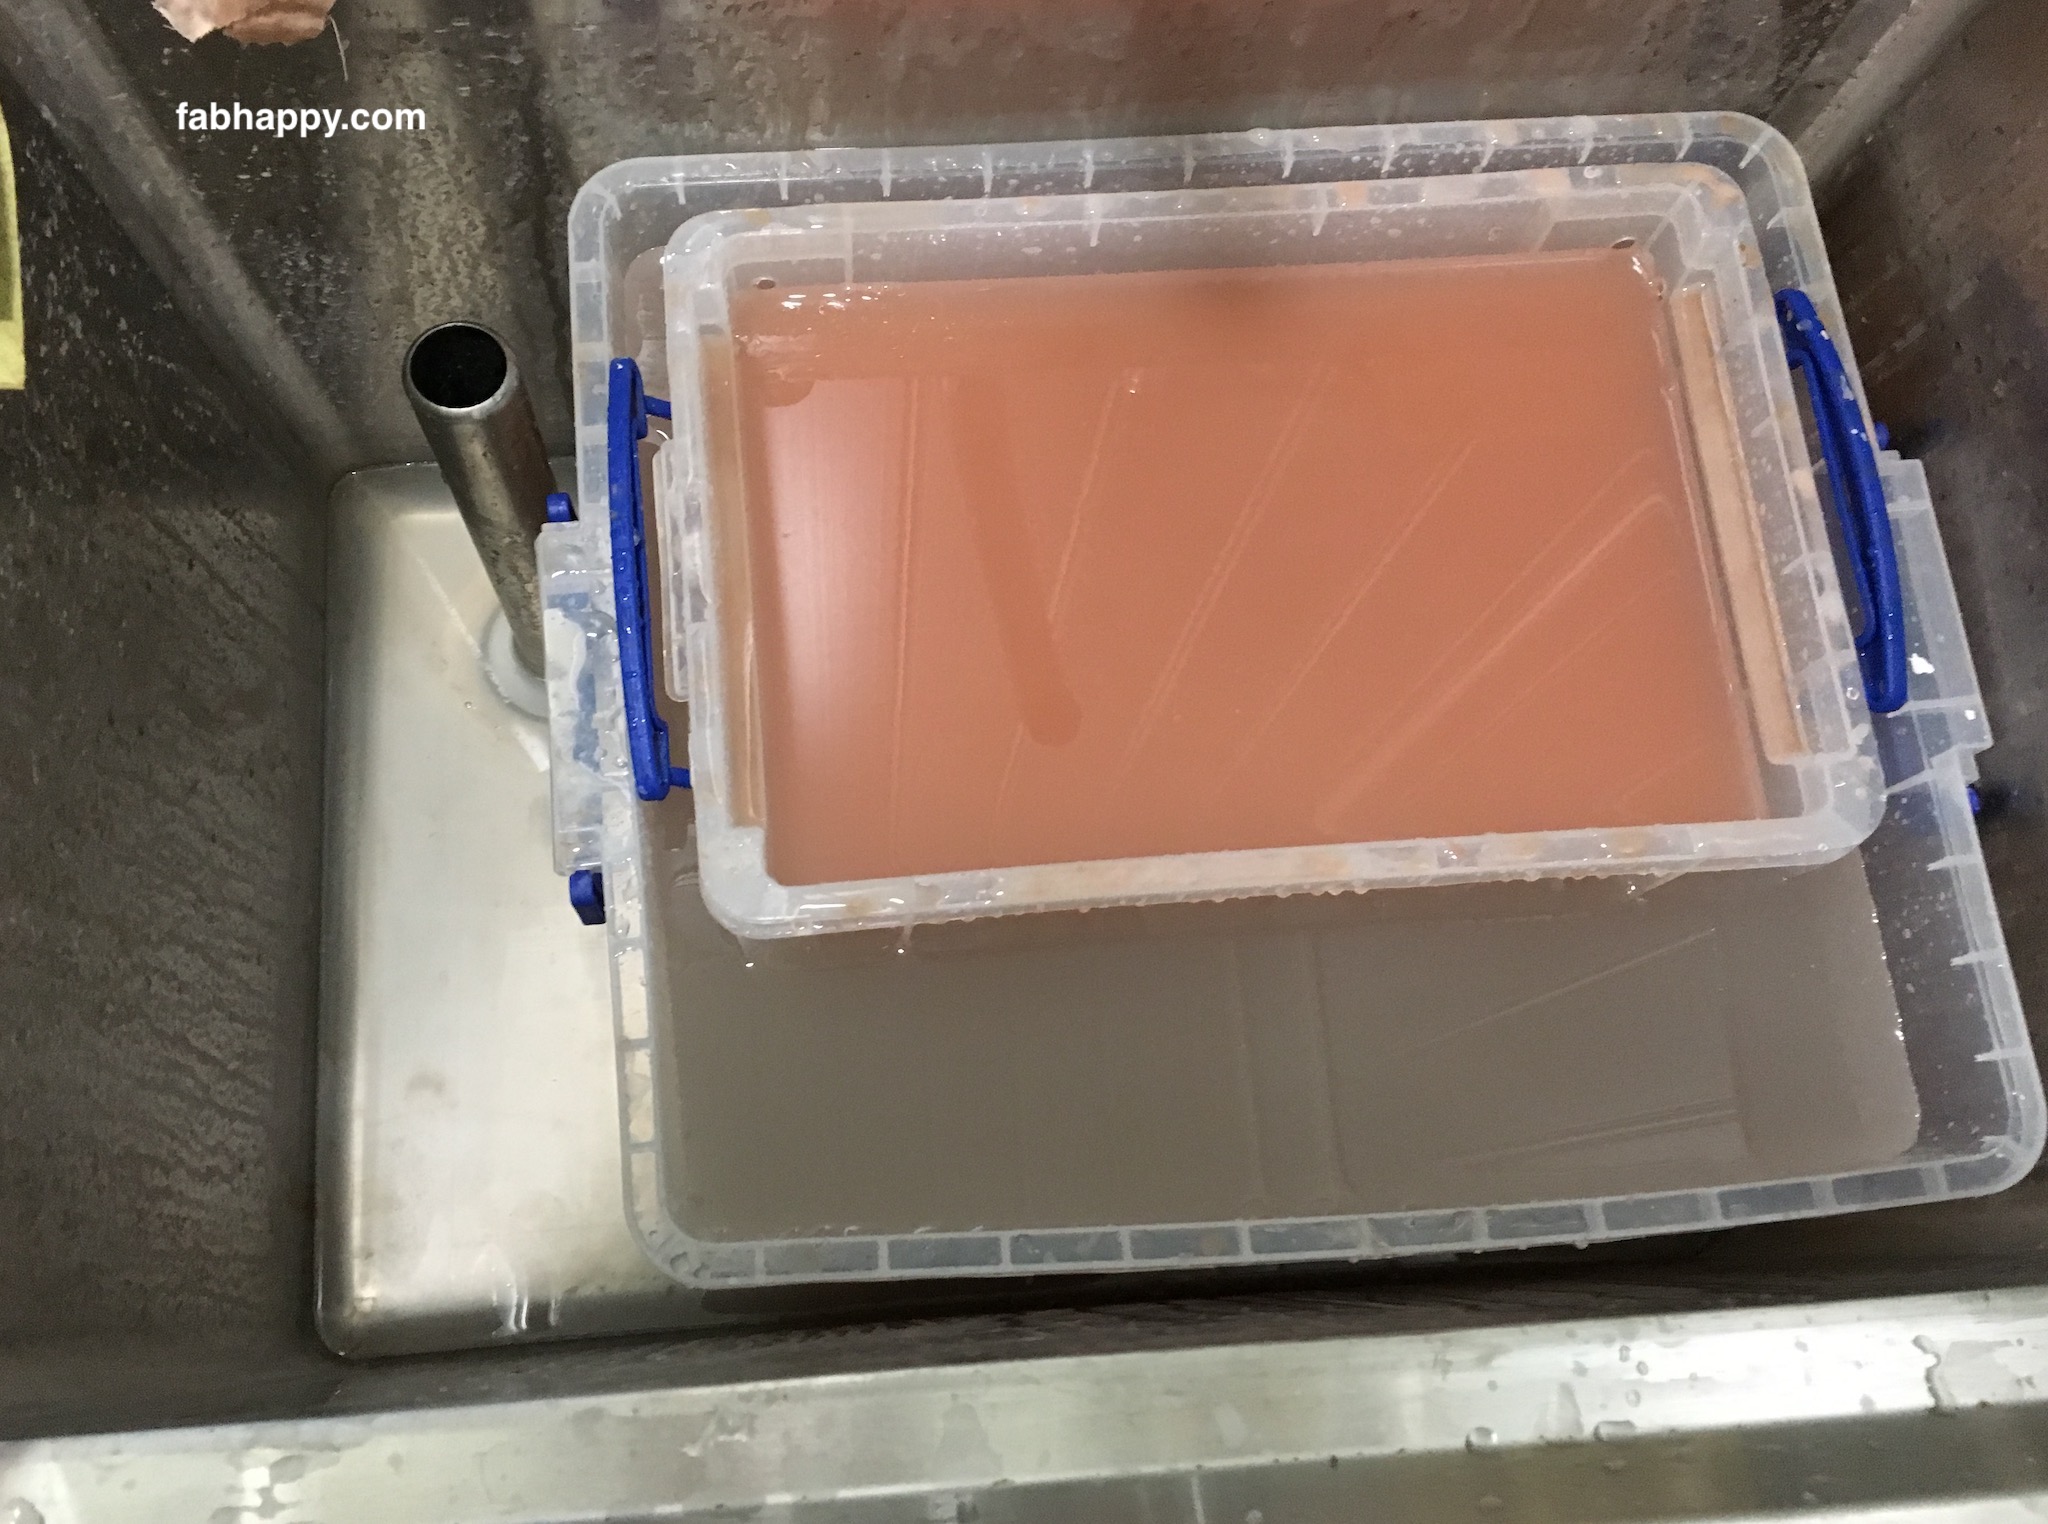
I purchased two simple plastic boxes from Hobbycraft here in the UK, one about half the volume of the other, but both having the same height. The idea is that we wash and empty the clay into the smallest box, which then overflows into the bigger box, when then overflows into the sink. Notice, the tall stainless steel “plug” in the pot sink? This stops the water going down the plughole, so I can manage that (the plug has a hole in the top, but that’s quite high in the sink). However first, I need to explain how I manage a sensible overflow of water between the two boxes.
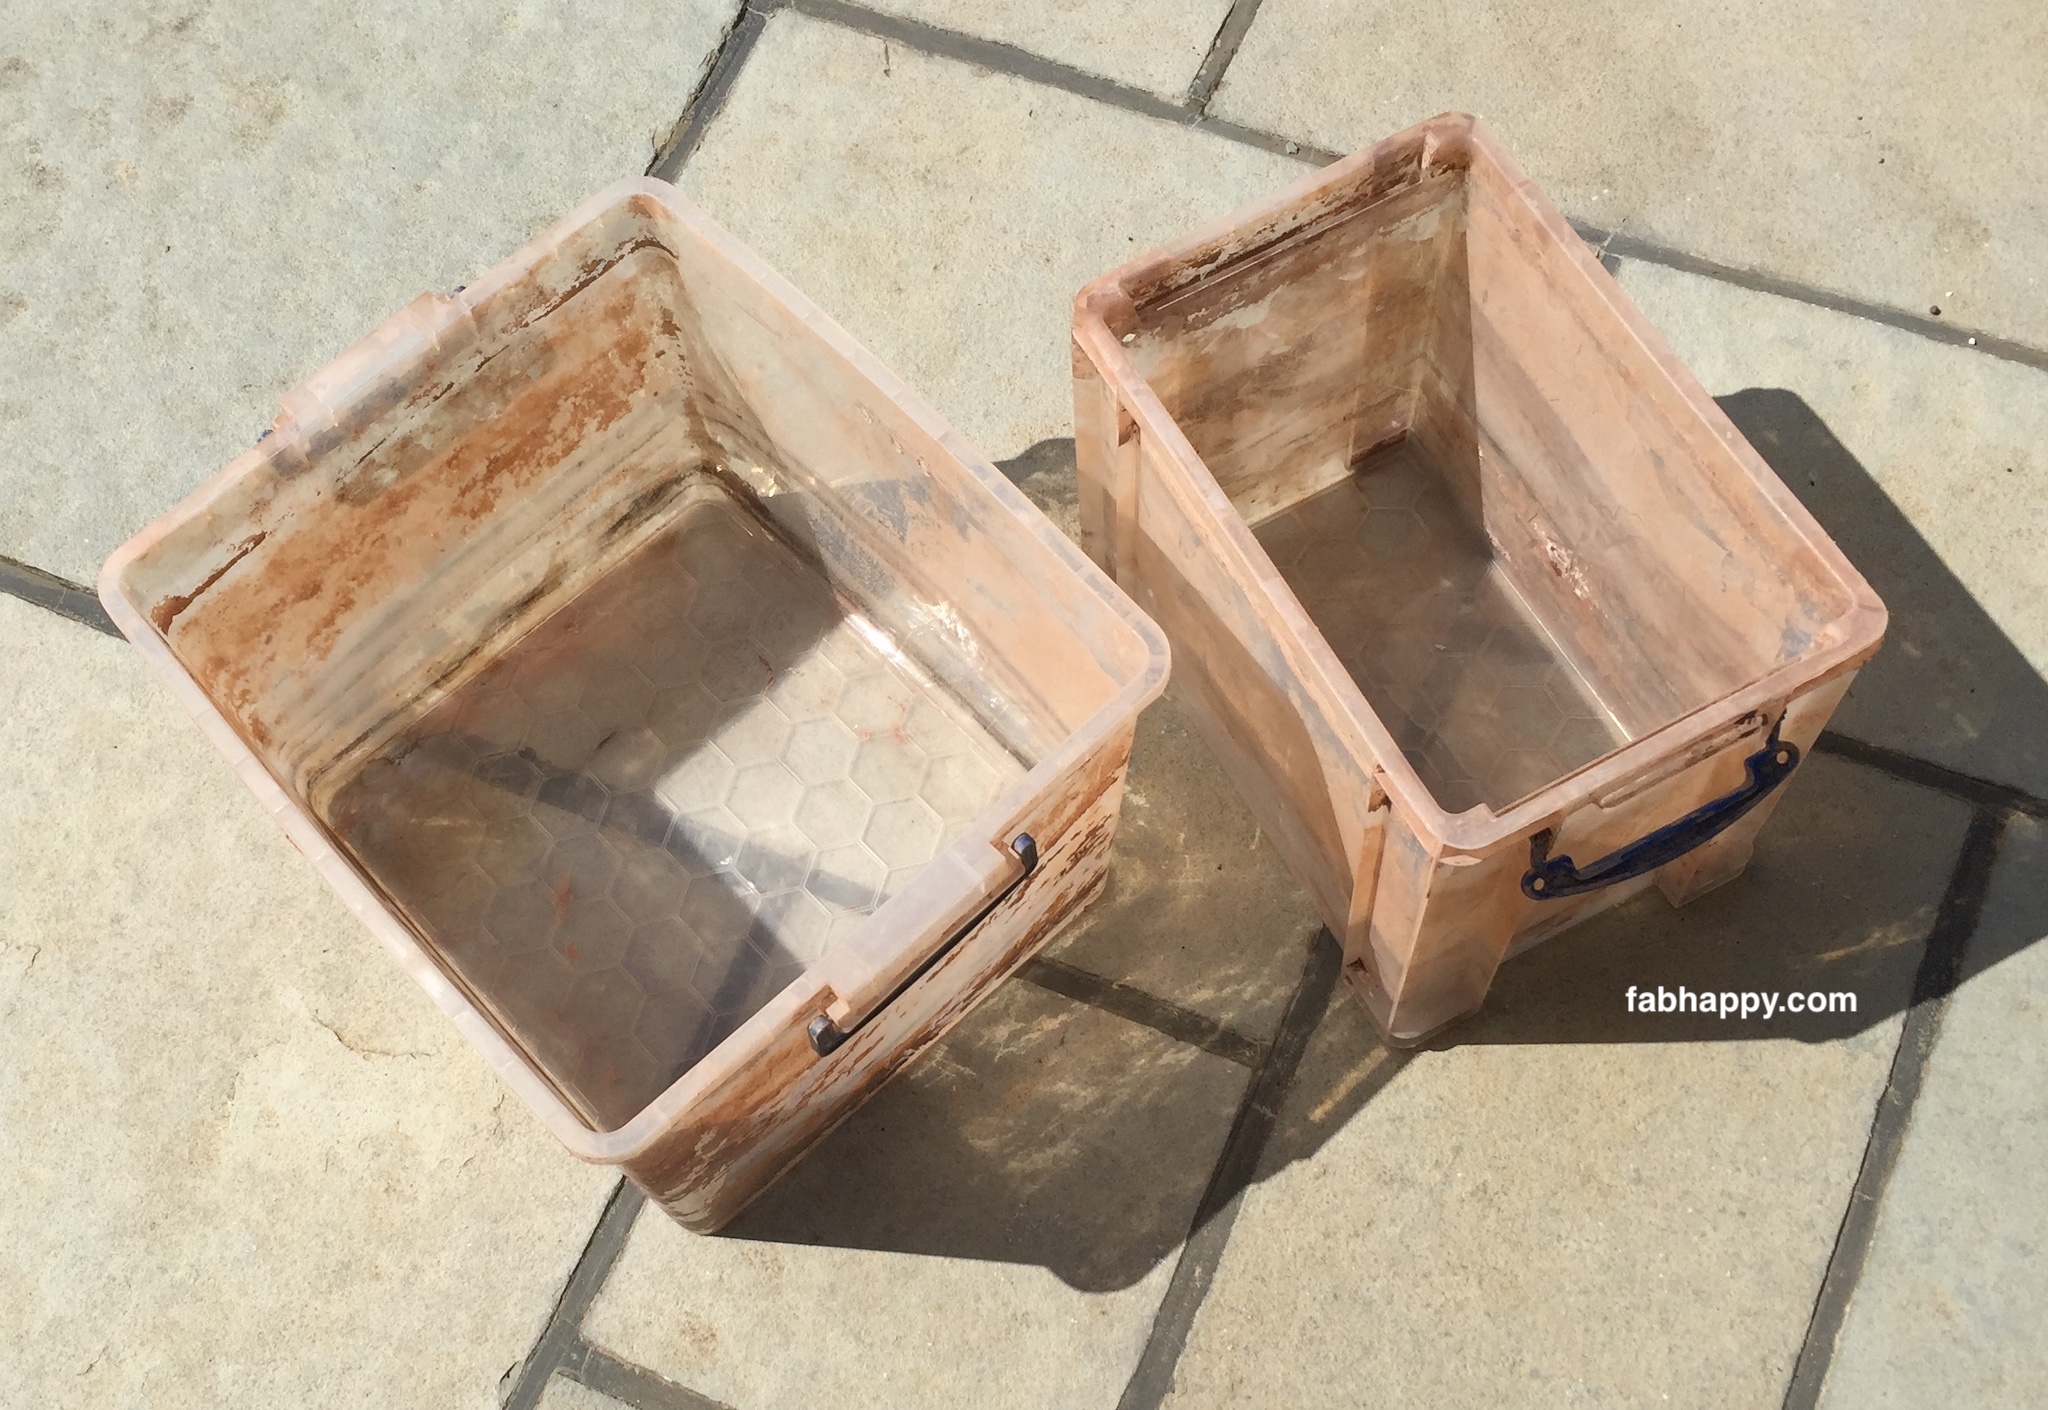
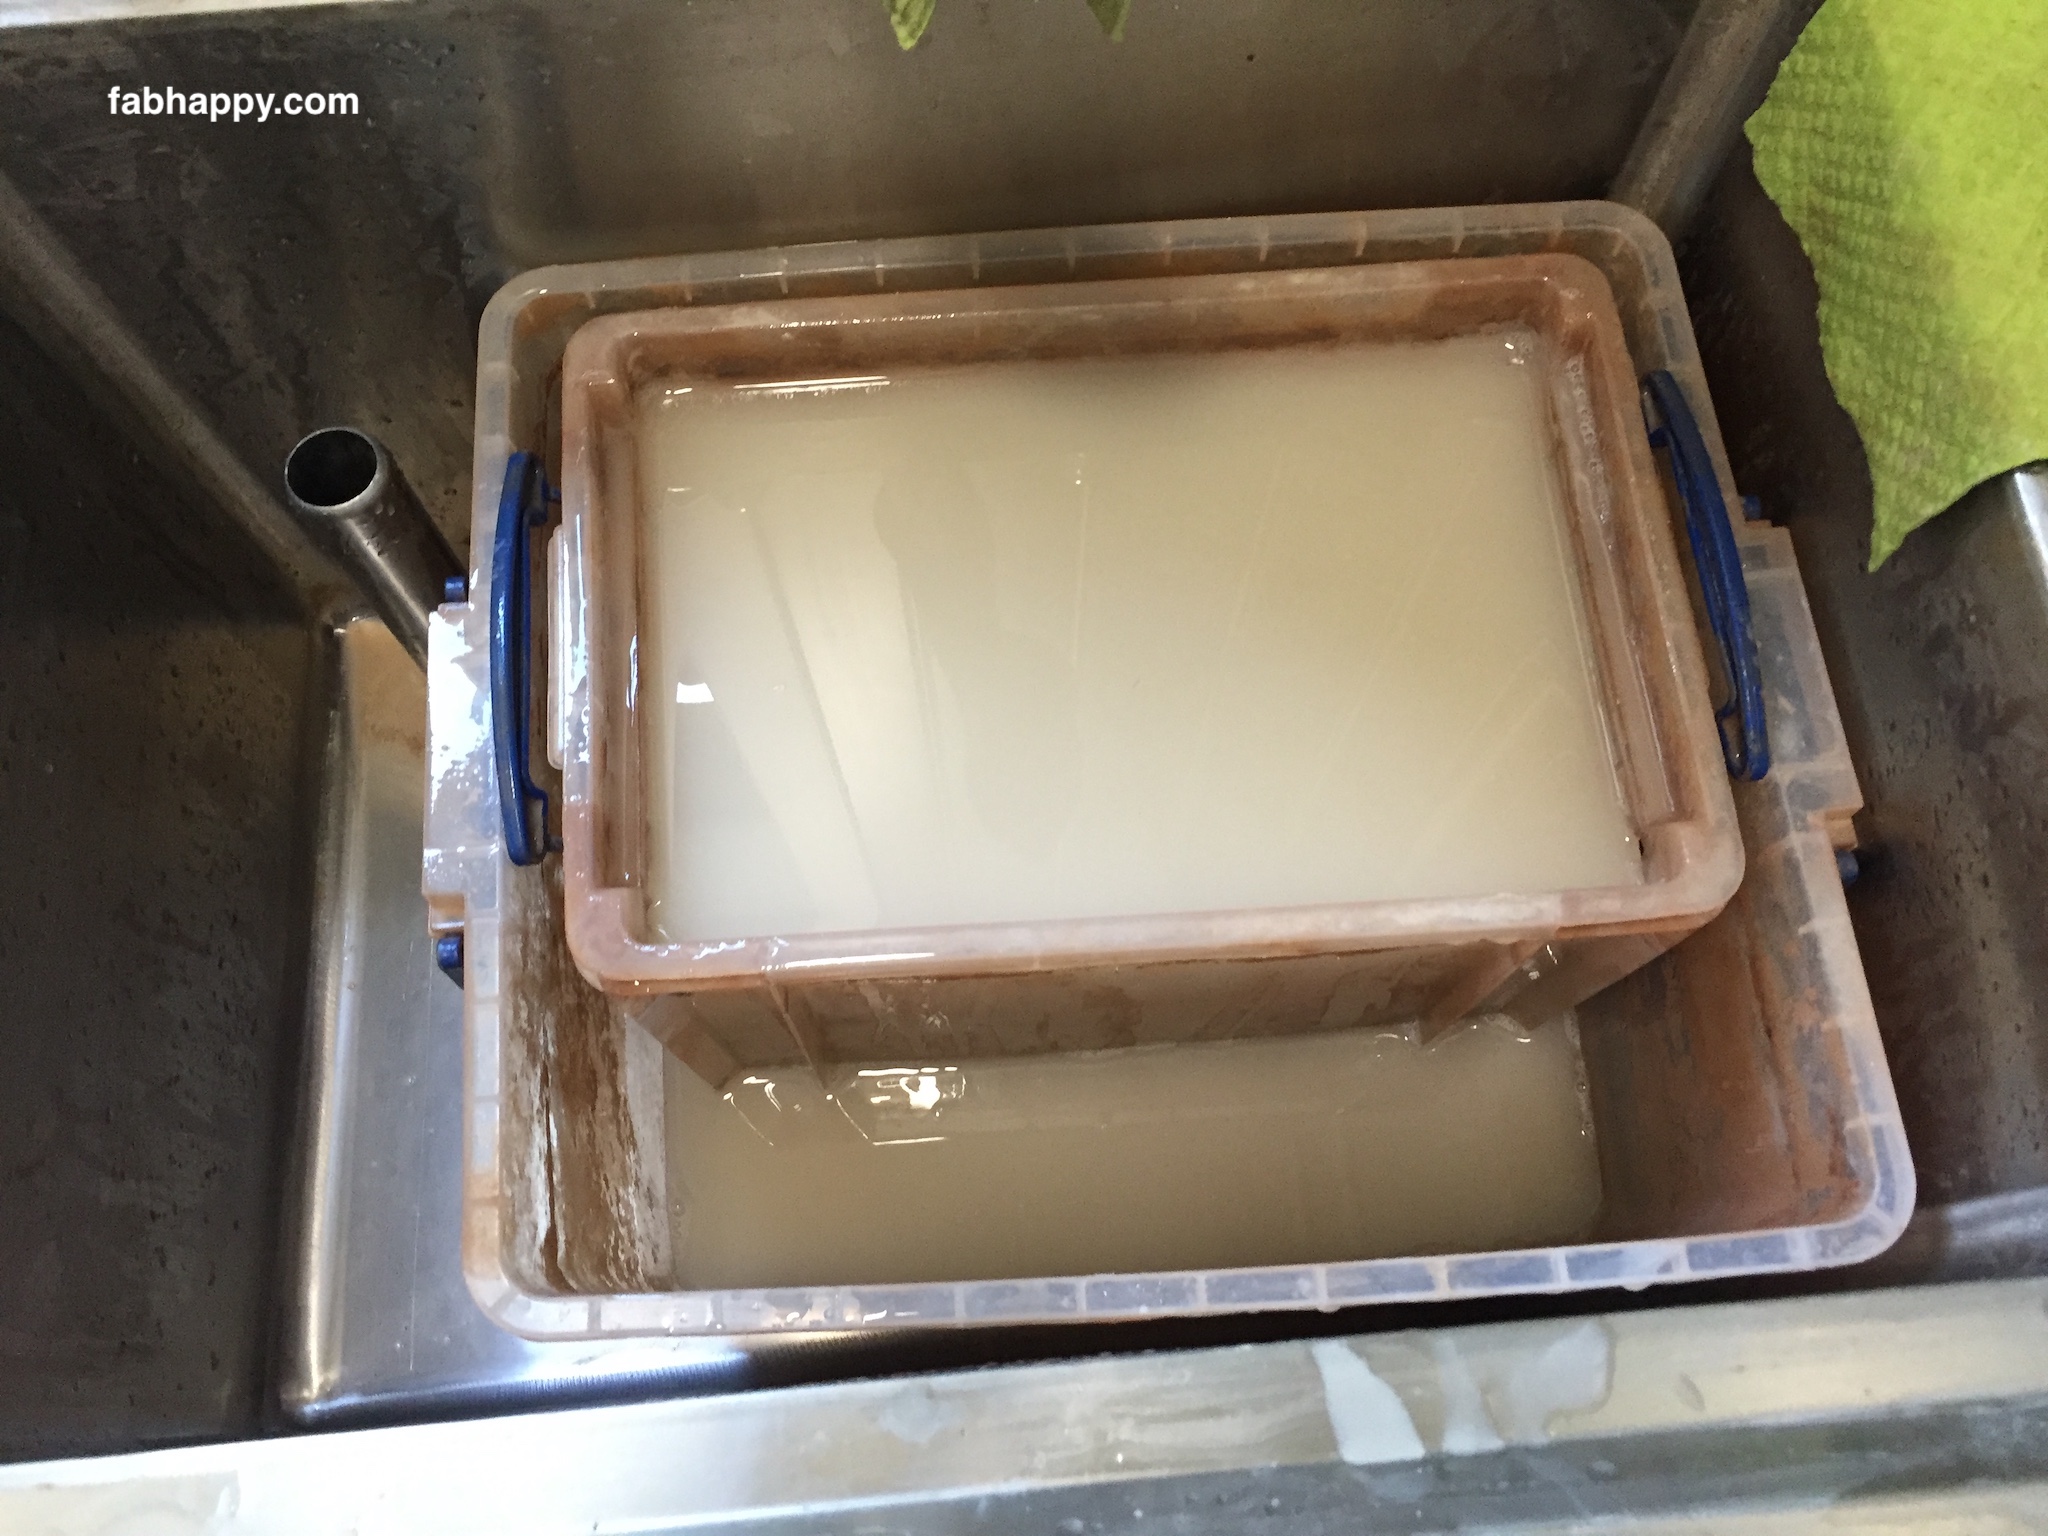
Before explaining how to manage the overflow, here’s a photo of the two plastic tubs just after I’d cleaned them out (it works out I need to do this every 4-6 months with our usage). It’s a messy business, cleaning out these tubs, but it would also be messy to clean out a commercial sedimentation tank. Now I’m going to show how I made the tubs overflow into each other in a controlled way.
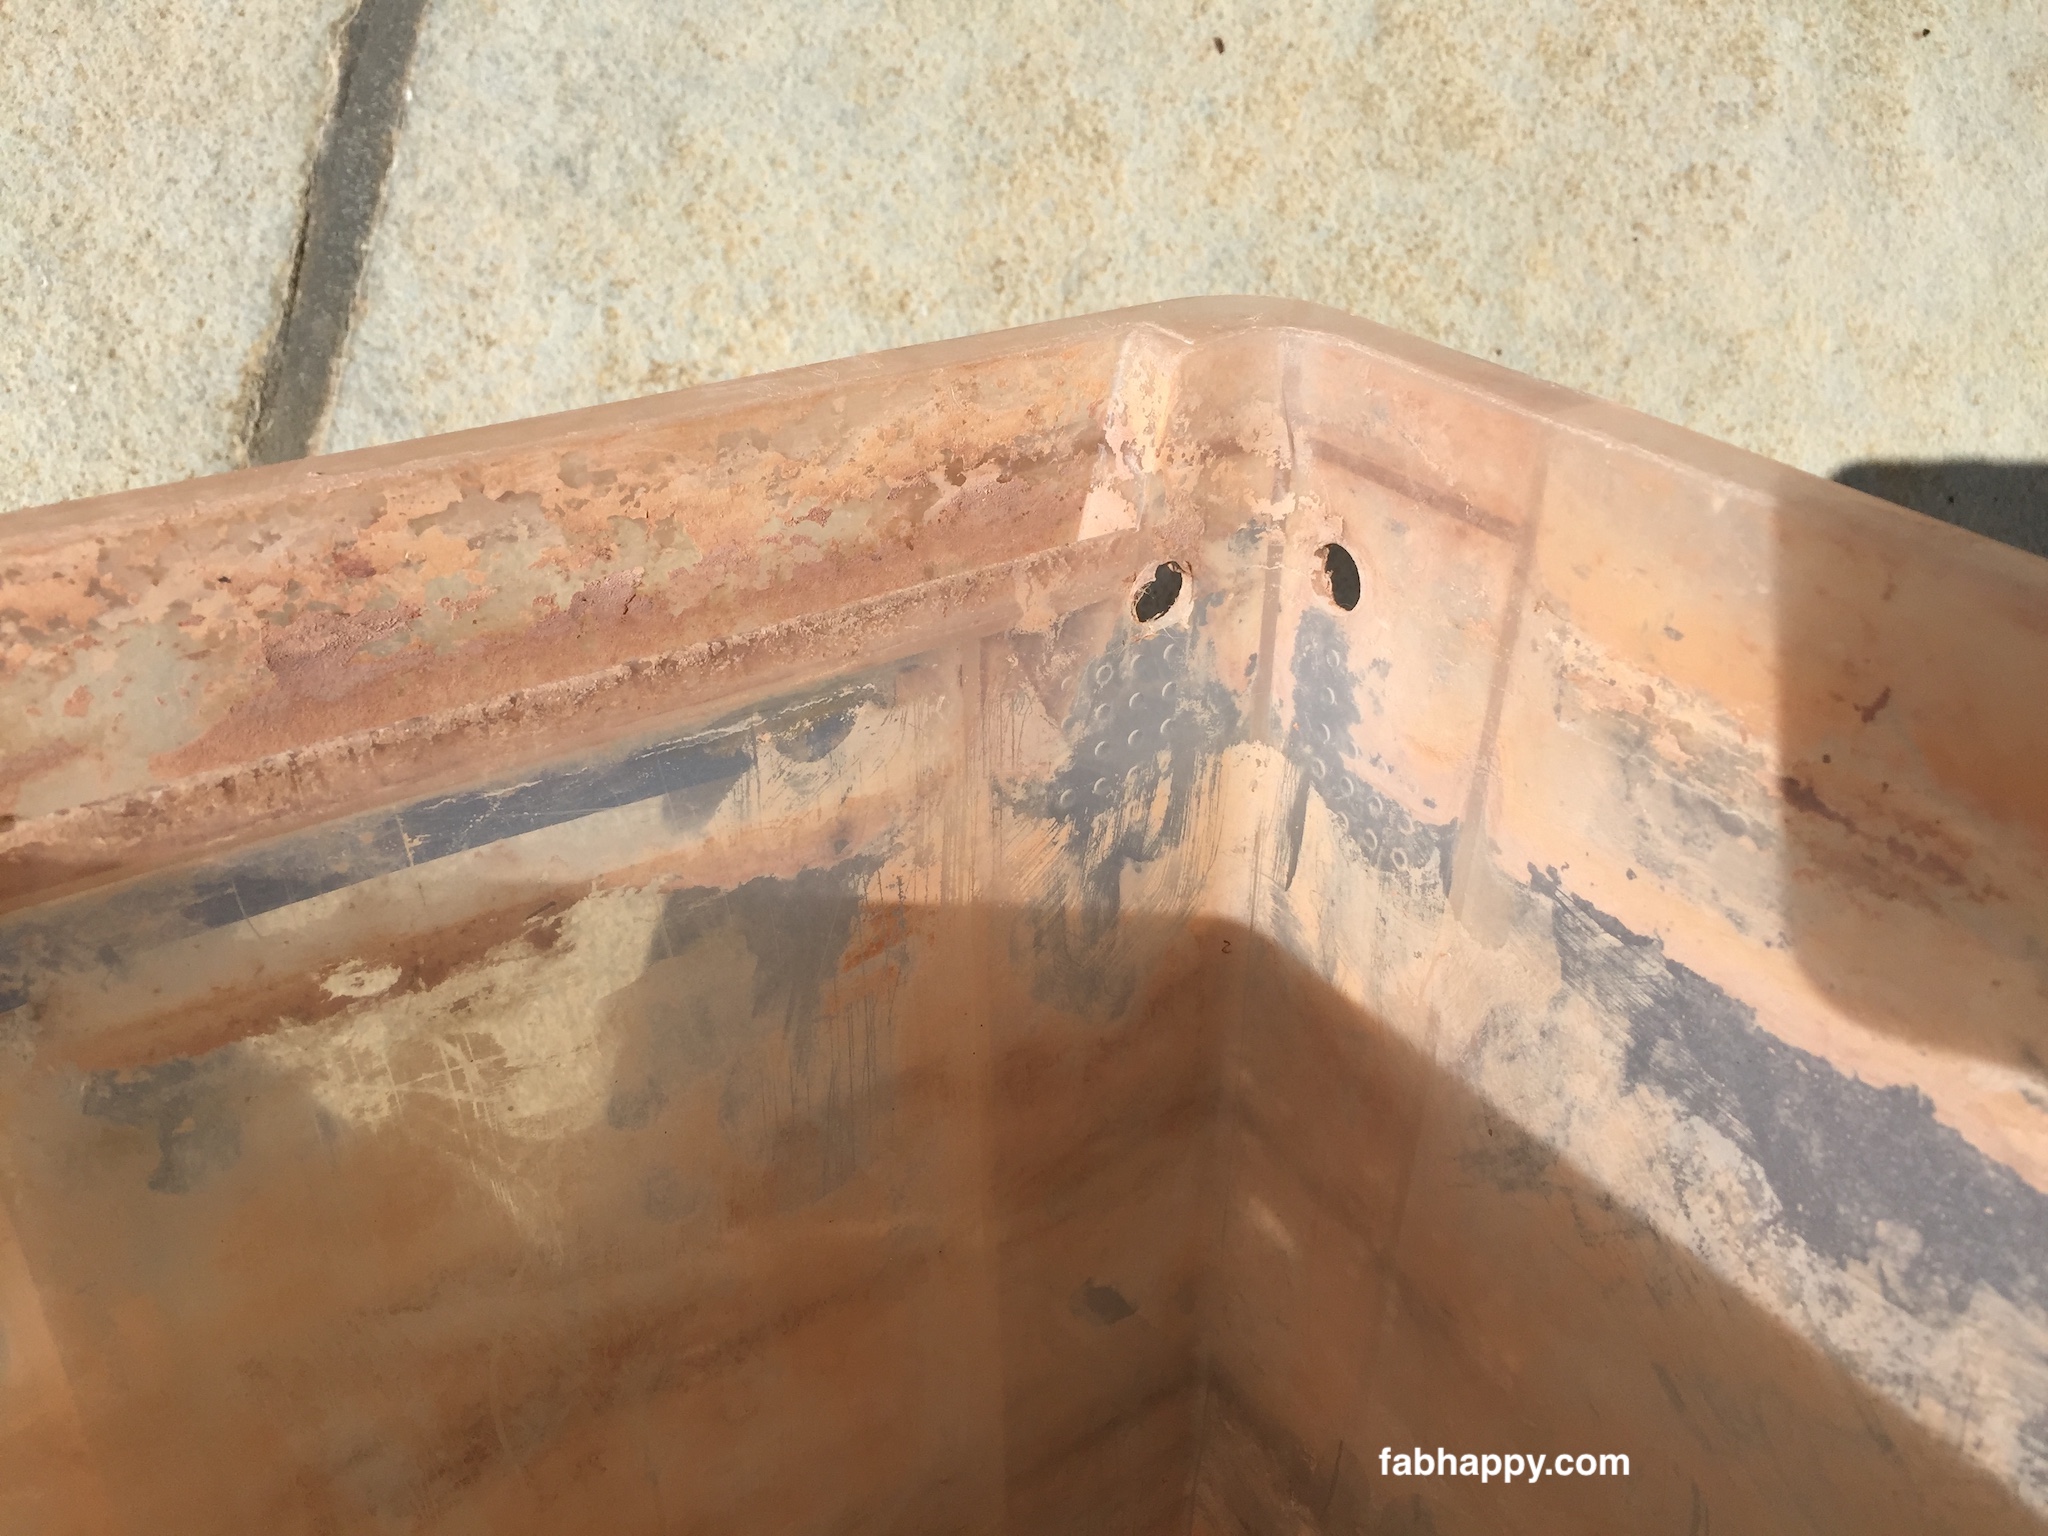
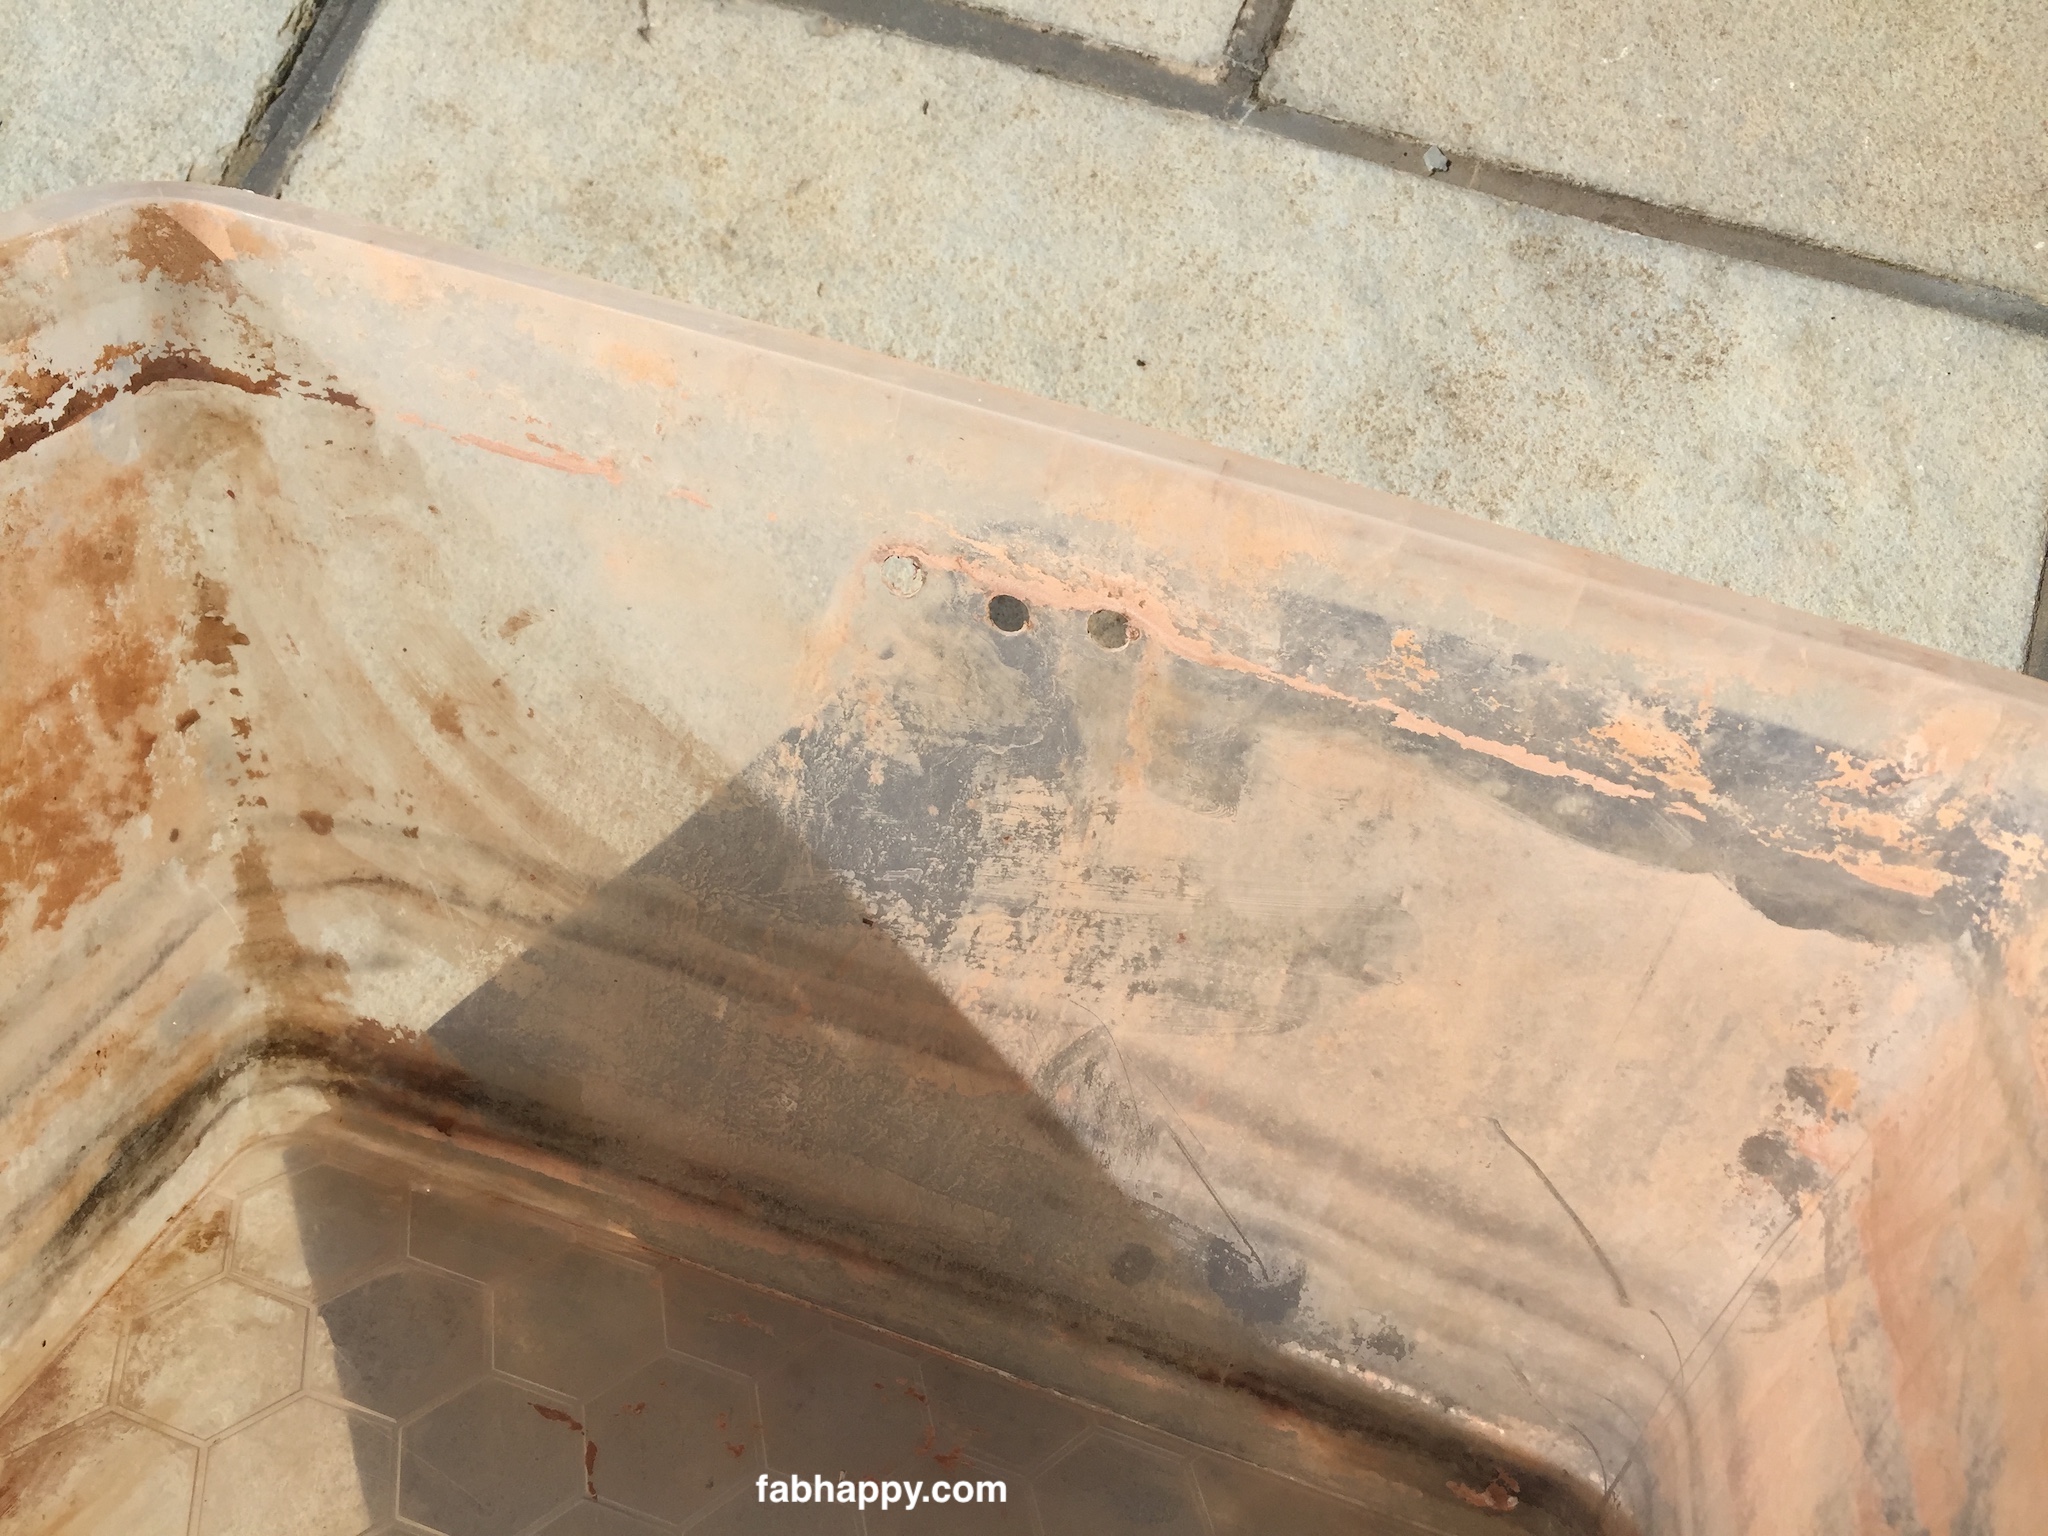
In two corners of the smaller tub, I drilled a couple of holes like you can see here. The holes are quite high up. I want the small tub to fill quite high. The two corners that I drilled are the corners that are furthest away from the disturbance of the tap. It’s best if the water that starts passing through the drilled holes is as calm as possible, which means more of the clay will have had a chance to sink towards the bottom and hence be trapped in the tub and never make it to the drain.
Now, in one of the long sides of the larger tub, I drilled three holes. These holes have to be lower than the holes in the smaller tub, probably by at least 2-3 cms. This makes it possible for the water in the smaller tub to flow into the larger tub, and the three holes here in the larger tub allows the water to flow into the sink.
Here are the tubs put together in the pot sink. I’ve highlighted where the holes have been drilled. The two smaller circles show where the holes have been drilled in the smaller tub. The larger ellipse shows where the three holes are in the back of the larger tub.
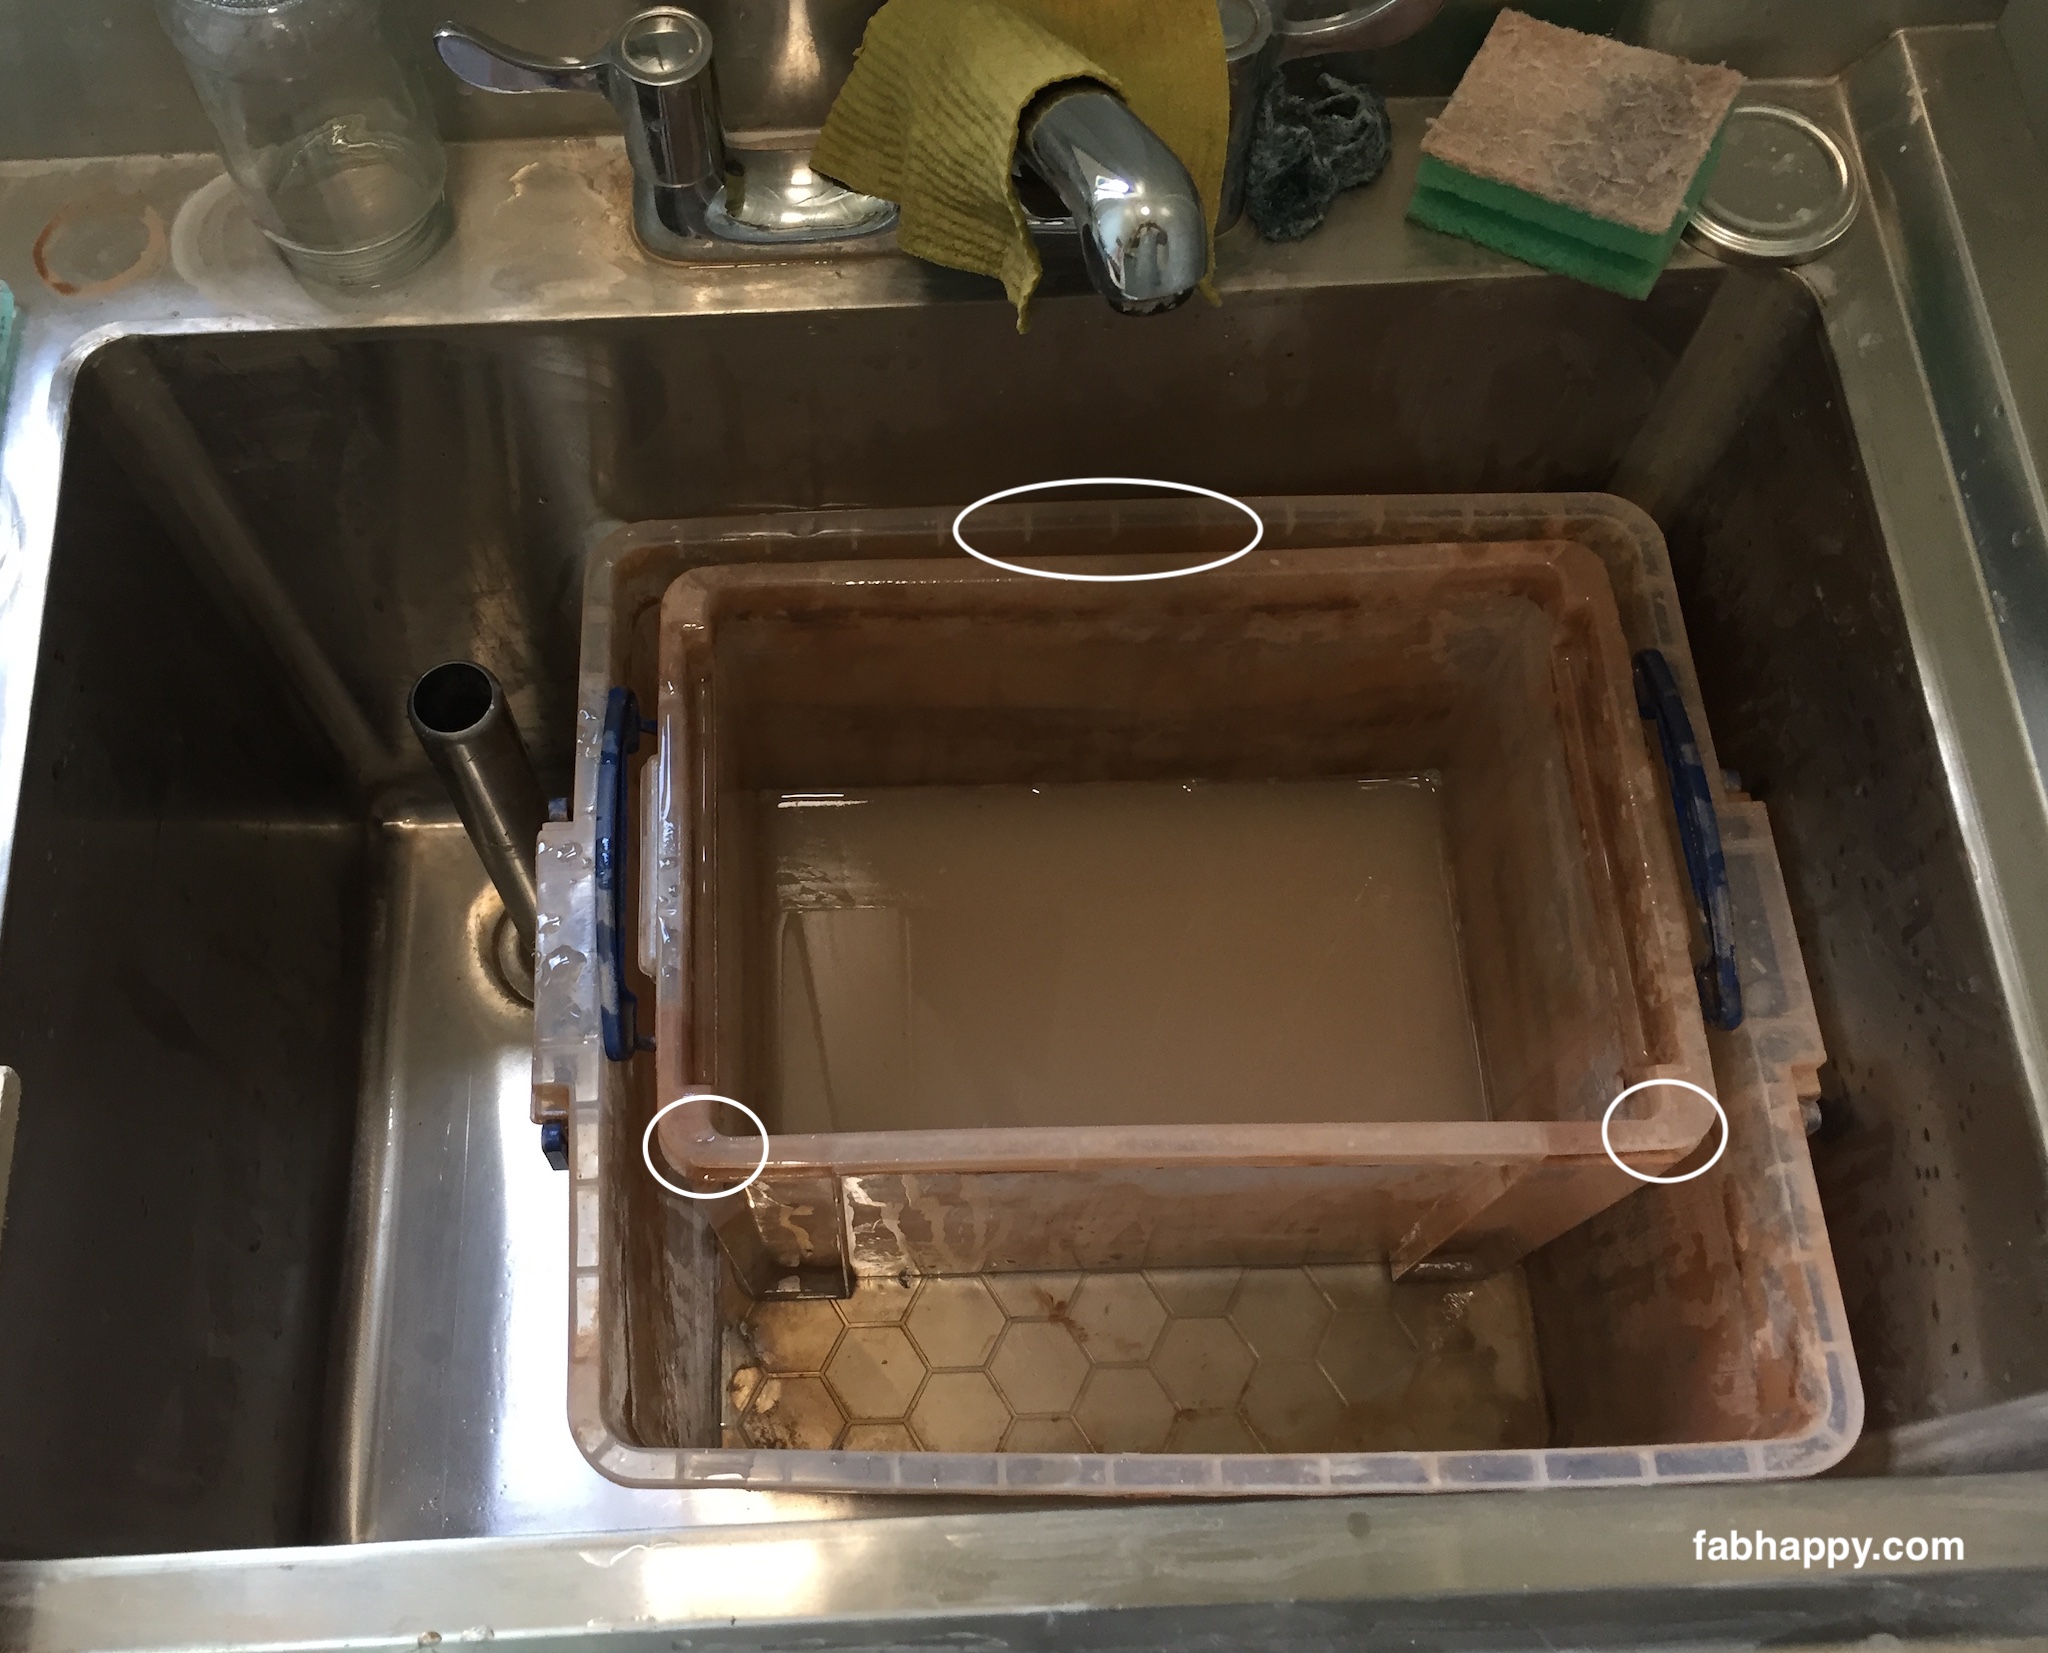
The water originally gets disturbed by the tap or by washing in the smaller tub. Hopefully, a lot of the dirt will settle in this first tub and the water that overflows to the larger tub will be cleaner. Now, the holes in the larger tub are as far away as possible from where the water enters from the smaller tub, which should allow more dirt to settle in the second tub before overflowing to the sink.
The water that makes it through both tubs doesn’t go straight down the plughole because of the tall pot sink plug, so the sink becomes another opportunity for dirt to settle. When the sink itself starts to fill and the water level approaches the height of the holes in the larger tub, I need to pull out the tall plug, letting most of the water out, not all, and then put the plug back in. If I let all the water out, then dirt that has settled to the bottom of the sink will be encouraged to start going down the plug hole.
After all the water has been idle overnight, it’s possible to slowly let all the water out of the sink. Then I can scoop out any clay I find at the bottom of the sink and throw it in the rubbish. Generally, I find this system works quite well with very little clay going down the plug hole, and it cost me about about £20 instead of over £300.
I’d be interested to know if you have a better alternative or an improvement to the simple, DIY sedimentation tank I’ve described above.
Hello Peter.
This idea looks brilliant.
Did you buy the tall stainless steel pot plug as a separate item ?
When you say you let out the water from the main sink, why does the clay at the bottom of the sink not rush down the plug hole 🕳 or have I not fully understood? Regards Len.
Hi Len,
The tall stainless steel pot plugs came with the sinks. I had no idea about them until the sinks were delivered and I figured out what they were.
If everything goes well, there shouldn’t be too much clay getting into the main sink, but some always does. The trick to letting the water out safely is to always let the sediment settle well before releasing the plug. The clear water above the sediment tends to go down the plughole and the sediment stays where it is until the water level gets close to the sediment. So, I always put the plug back in before the water gets too close to the sediment. I always leave an inch of two of water in the sink.
Every now and then I have to clean the sediment out. I slowly let most of the water out and then use paper towels to collect up all the sediment and throw the dirty towels in the rubbish.
Another negative of this system is that when the plastic tubs get too full of clay sediment, it’s a messy process to take them outside and dump the sediment in the garden. However, we’ve been using the same system for over 5 years without any problems.
Hope that answers your questions. Let me know if you have any more.
All the best,
Peter.
Thanks for the reply peter.
That’s really clear now..
We have the same set up with a large industrial double basin sink minus the tall pot plugs but I’m sure that can be overcome with something I can make. Many thanks again for your help.. Regards. Len.
Hello! My name is Christine Bolado and I am a 5th year Architecture student. here in the Philippines. My Architectural Thesis – Likha Training Center: Fostering Engagement in Pasu (producing clay pots and vases ), Dukit (carving), and Pukpuk (hammering thin sheets of brass, silver, and gold) Pampanga Handicrafts through Social Architecture.
In accordance with the aforementioned, I am conducting research on technological advancements that can be employed for the management of waste generated by the handicraft pottery industry. I have observed your innovative creation and would like to inquire further regarding its specific details. I express my sincere gratitude for your assistance.
Hi Christine,
I’ll send you and email separately.
Best Wishes,
Peter.