• Skip to main content

FabHappy

FabHappy Art - unique gifts, handmade

  • Home
  • Blog
  • About
    • About Us
    • Our Pottery Studio
    • Privacy Policy
  • Search
  • Contact
    • Subscribe
    • Send an email

In the studio

Sep 02 2019

Clay Sedimentation Tank – a DIY alternative

When I put together our pottery studio, one of the conundrums was how to deal with cleaning all the equipment with clay attached without clogging up the pipes and the drains. The standard way of doing this is by using a sedimentation tank, or settling tank, but these cost around £300 minimum and when I looked at them, they seemed rather simple. I started to wonder if I could make something that did the same job but much cheaper, and I think I’ve succeeded.

[Just click on the images below to see them full-size]

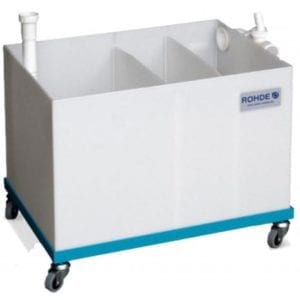
The standard, commercial sedimentation tank looks like the one on the right (this one, for example, is available from Bath Potters). It involves a plastic box with the water entering at one end and exiting the other. The box is divided into several compartments and the barriers between each compartment are at different heights. Once the first compartment fills with water, it overflows into the second compartment, and when that fills, it overflows into the next, etc. As clay material sinks in water (some quickly and some gradually), it will become sediment on the bottom of the compartments and the water that overflows to each compartment will be cleaner and cleaner.

sedimentation tank

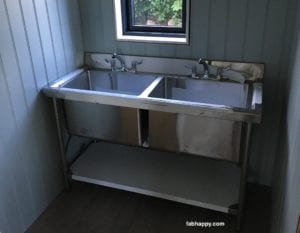
I came up with a plan to do something similar with simple components. The first decision was to get a commercial kitchen pot cleaning sink for our pottery studio. This is made out of stainless steel and is very deep, and it comes with unusual, very tall, overflow plugs. I hadn’t seen these before but they worked out perfectly for what I needed to do.

large stainless steel pot sinks

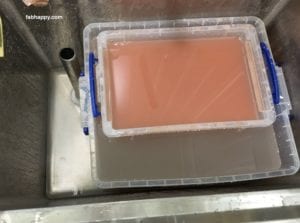
I purchased two simple plastic boxes from Hobbycraft here in the UK, one about half the volume of the other, but both having the same height. The idea is that we wash and empty the clay into the smallest box, which then overflows into the bigger box, when then overflows into the sink. Notice, the tall stainless steel “plug” in the pot sink? This stops the water going down the plughole, so I can manage that (the plug has a hole in the top, but that’s quite high in the sink). However first, I need to explain how I manage a sensible overflow of water between the two boxes.

clay sedimentation tank

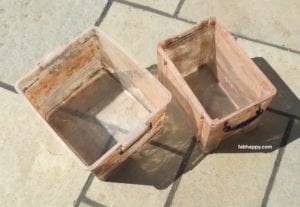
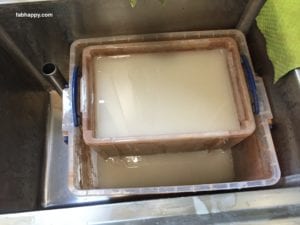
Before explaining how to manage the overflow, here’s a photo of the two plastic tubs just after I’d cleaned them out (it works out I need to do this every 4-6 months with our usage). It’s a messy business, cleaning out these tubs, but it would also be messy to clean out a commercial sedimentation tank. Now I’m going to show how I made the tubs overflow into each other in a controlled way.

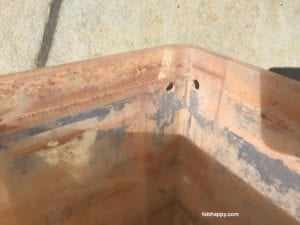
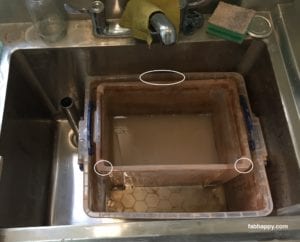
In two corners of the smaller tub, I drilled a couple of holes like you can see here. The holes are quite high up. I want the small tub to fill quite high. The two corners that I drilled are the corners that are furthest away from the disturbance of the tap. It’s best if the water that starts passing through the drilled holes is as calm as possible, which means more of the clay will have had a chance to sink towards the bottom and hence be trapped in the tub and never make it to the drain.

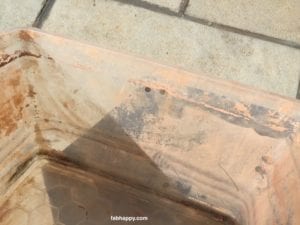
Now, in one of the long sides of the larger tub, I drilled three holes. These holes have to be lower than the holes in the smaller tub, probably by at least 2-3 cms. This makes it possible for the water in the smaller tub to flow into the larger tub, and the three holes here in the larger tub allows the water to flow into the sink.

Here are the tubs put together in the pot sink. I’ve highlighted where the holes have been drilled. The two smaller circles show where the holes have been drilled in the smaller tub. The larger ellipse shows where the three holes are in the back of the larger tub.

clay sedimentation tank

The water originally gets disturbed by the tap or by washing in the smaller tub. Hopefully, a lot of the dirt will settle in this first tub and the water that overflows to the larger tub will be cleaner. Now, the holes in the larger tub are as far away as possible from where the water enters from the smaller tub, which should allow more dirt to settle in the second tub before overflowing to the sink.

clay sedimentation tank

The water that makes it through both tubs doesn’t go straight down the plughole because of the tall pot sink plug, so the sink becomes another opportunity for dirt to settle. When the sink itself starts to fill and the water level approaches the height of the holes in the larger tub, I need to pull out the tall plug, letting most of the water out, not all, and then put the plug back in. If I let all the water out, then dirt that has settled to the bottom of the sink will be encouraged to start going down the plug hole.

After all the water has been idle overnight, it’s possible to slowly let all the water out of the sink. Then I can scoop out any clay I find at the bottom of the sink and throw it in the rubbish. Generally, I find this system works quite well with very little clay going down the plug hole, and it cost me about about £20 instead of over £300.

I’d be interested to know if you have a better alternative or an improvement to the simple, DIY sedimentation tank I’ve described above.
Written by Peter · Categorized: In the studio · Tagged: pottery

Jul 07 2019

Loading the kiln with a variety of pieces

Loaded the kiln today with a whole variety of pieces. For the first time, if I’ve counted correctly, I loaded pieces made by ten different people. Ten! That’s great. We’ve been having so much fun in the pottery studio. I’ve got some photos below going through the process of loading the kiln.

This load is for a bisque firing. So many of the pieces will look quite boring at this stage. It’s after this firing, and after the subsequent glazing, that all the interesting colours come out.

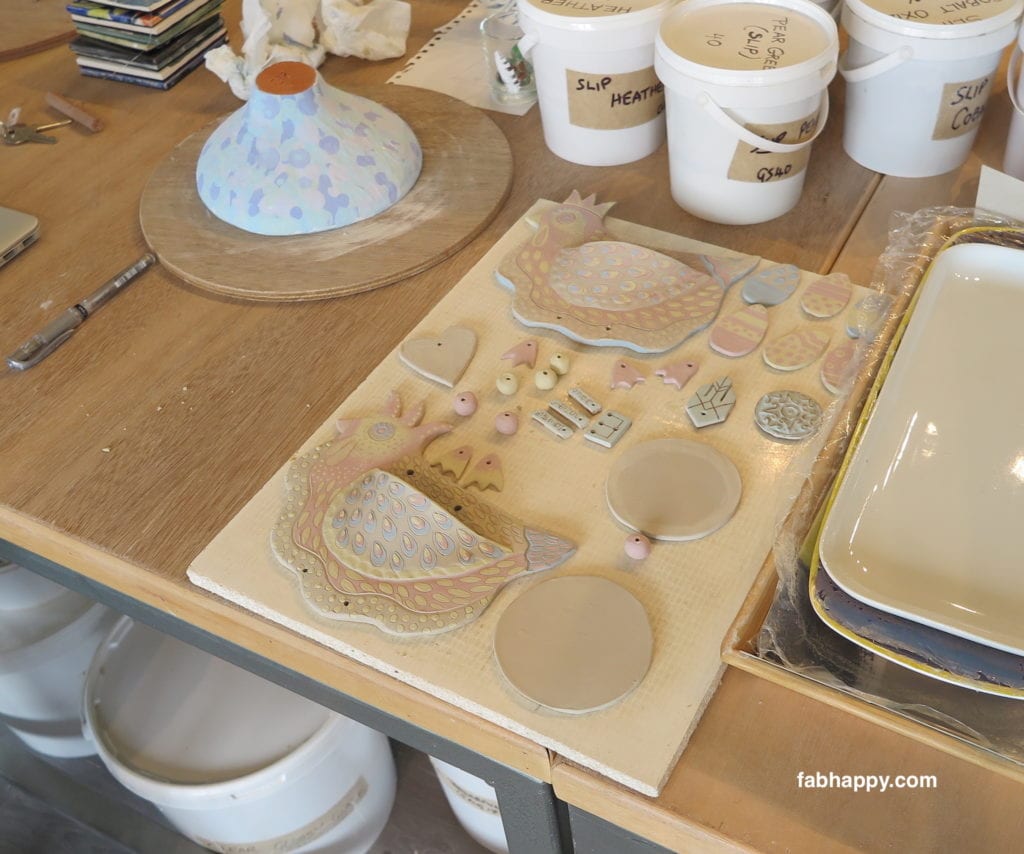
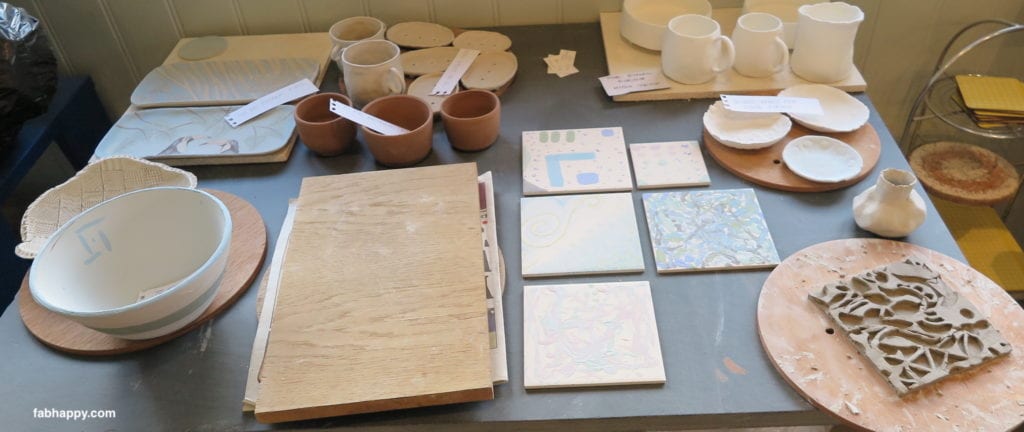
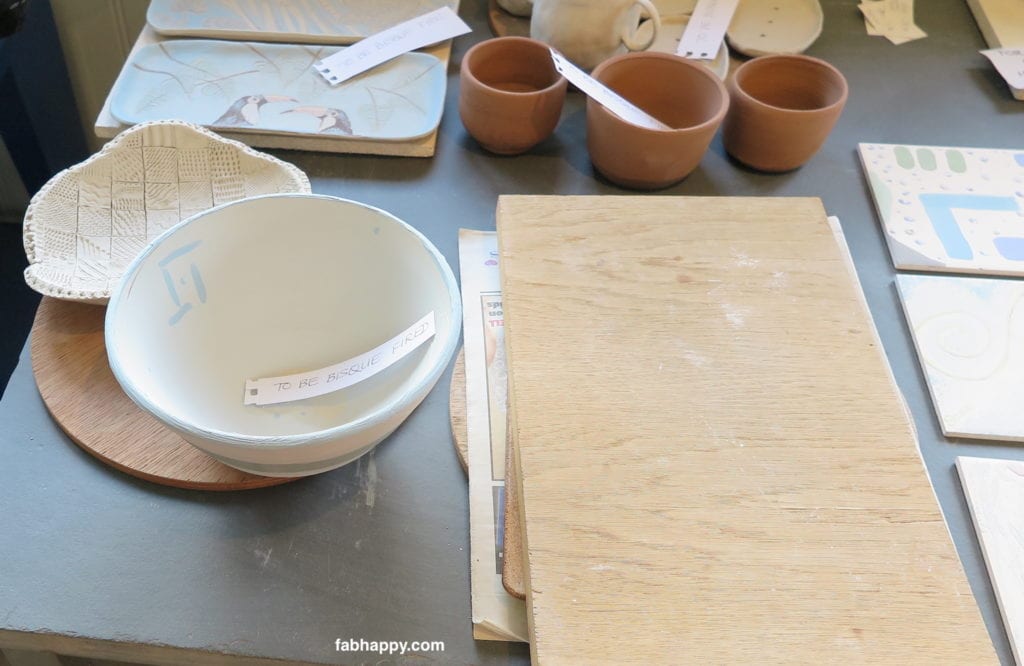
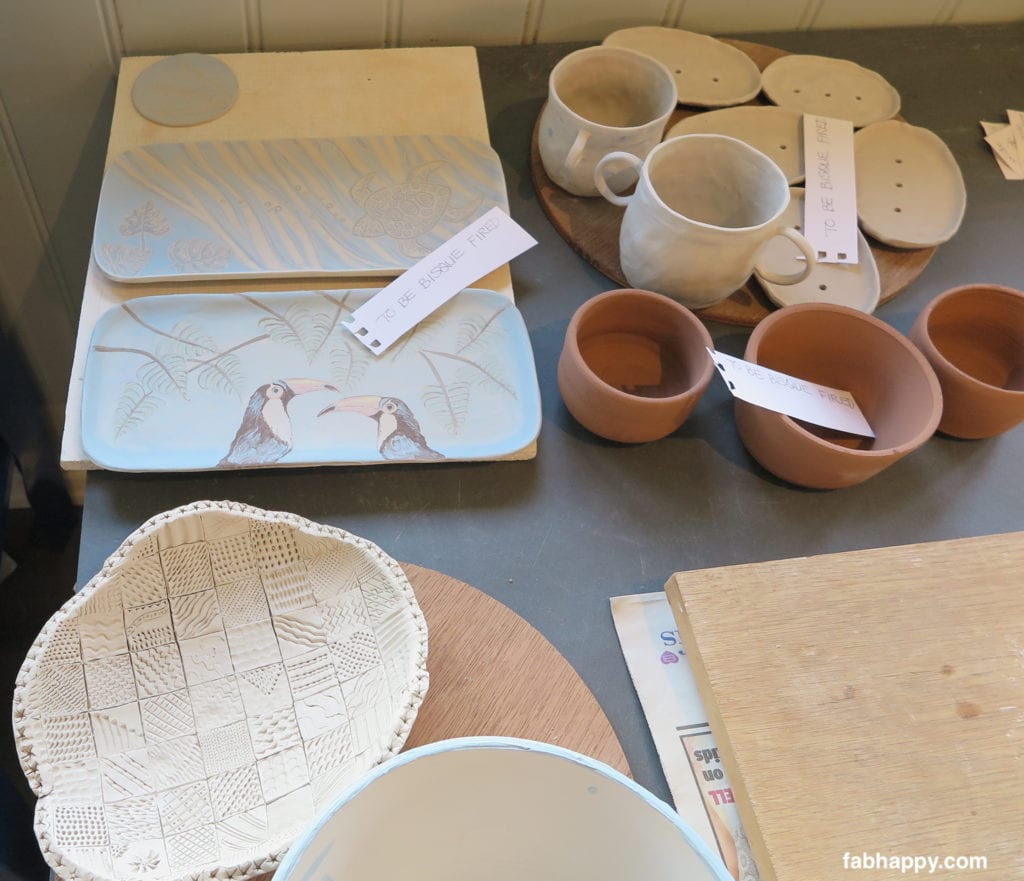
Some of the pieces waiting before loading the kiln. Actually, all the pieces have to dry out as much as possible before the firing.

In this image, you can see a couple of Gloria’s funky chicken wall hangings in the early part of creation.

Many items from many different artists.
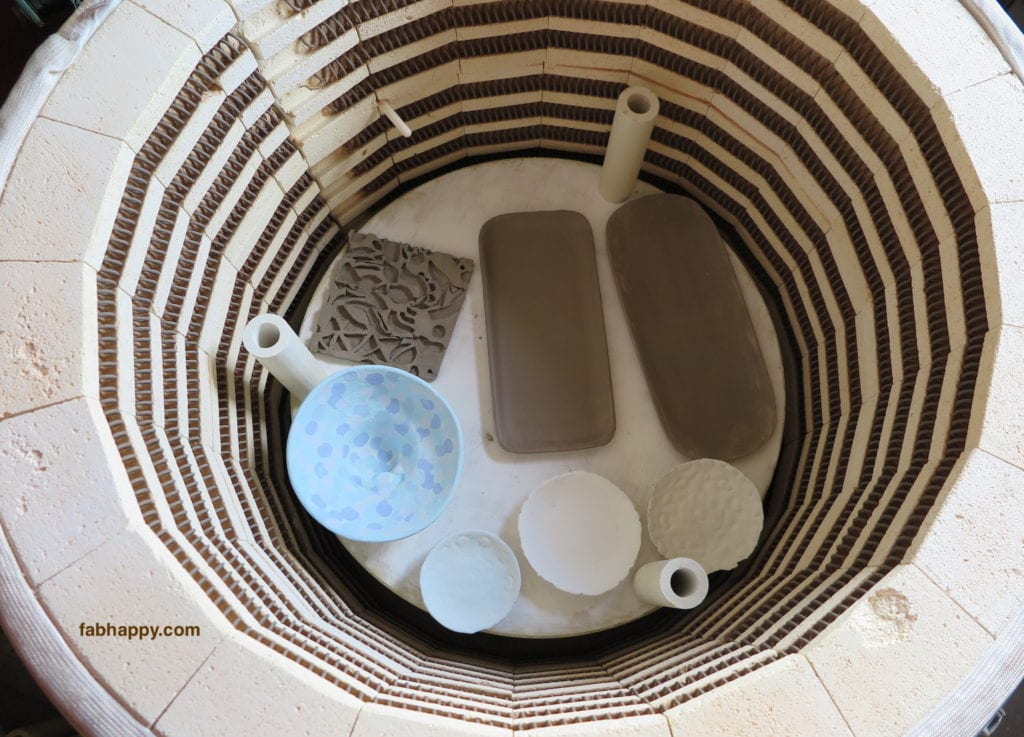
That bowl at the front left is mine. It looks boring now, but I hope it turns out really interestingly after firing and glazing.
Love those two trays of Gloria’s
loading the kiln
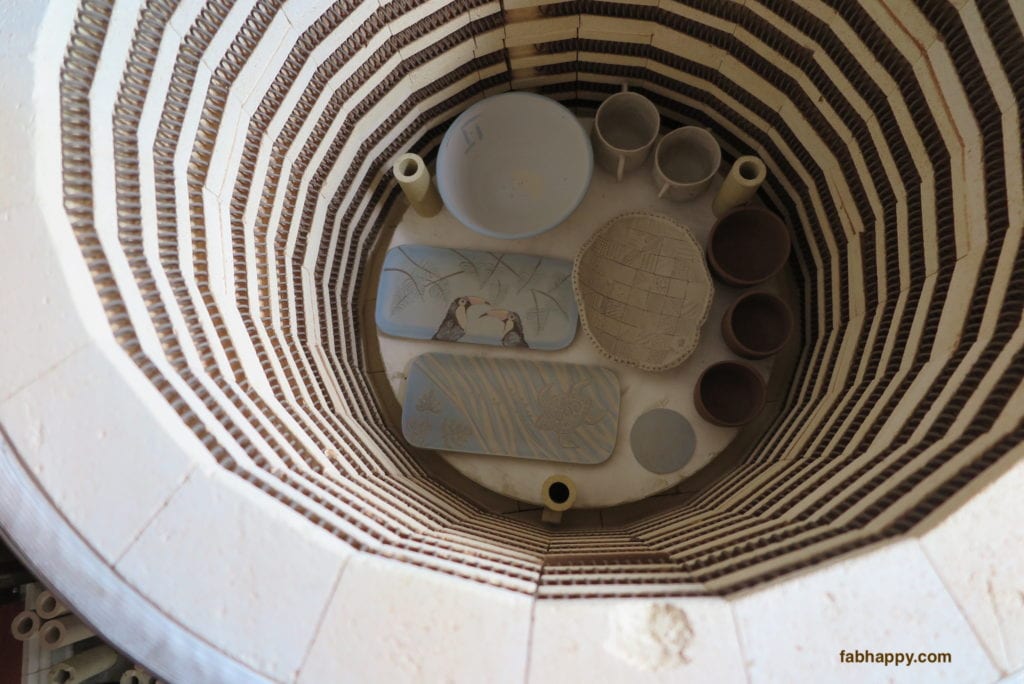
Lowest shelf of the kiln loaded. There’s my bowl and Gloria’s two trays.
loading the kiln
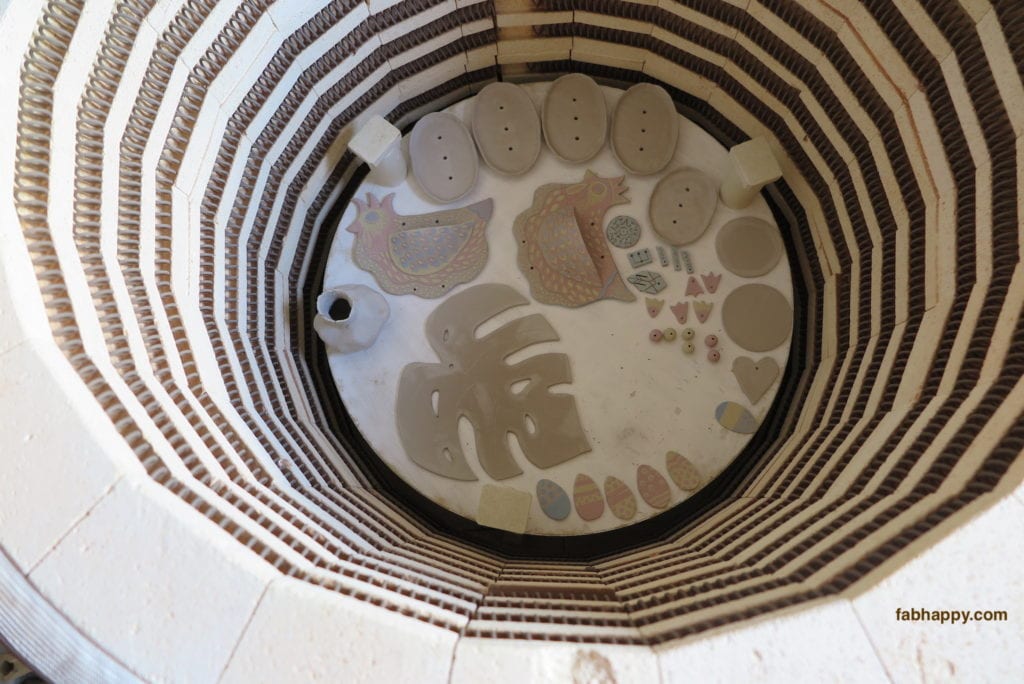
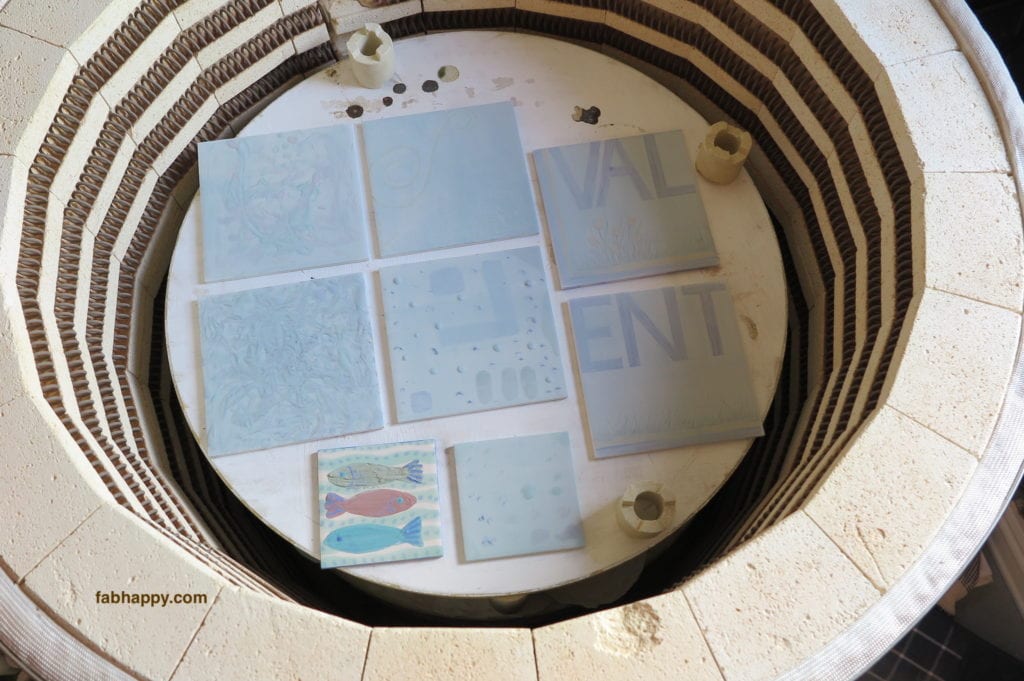
Second shelf loaded. There are those funky chickens!
loading the kiln
Third shelf loaded. A couple of these pieces have glaze already applied, but it’s glaze that fires at a low temperature so it can go in a bisque firing.
loading the kiln
Fourth shelf loaded.
loading the kiln
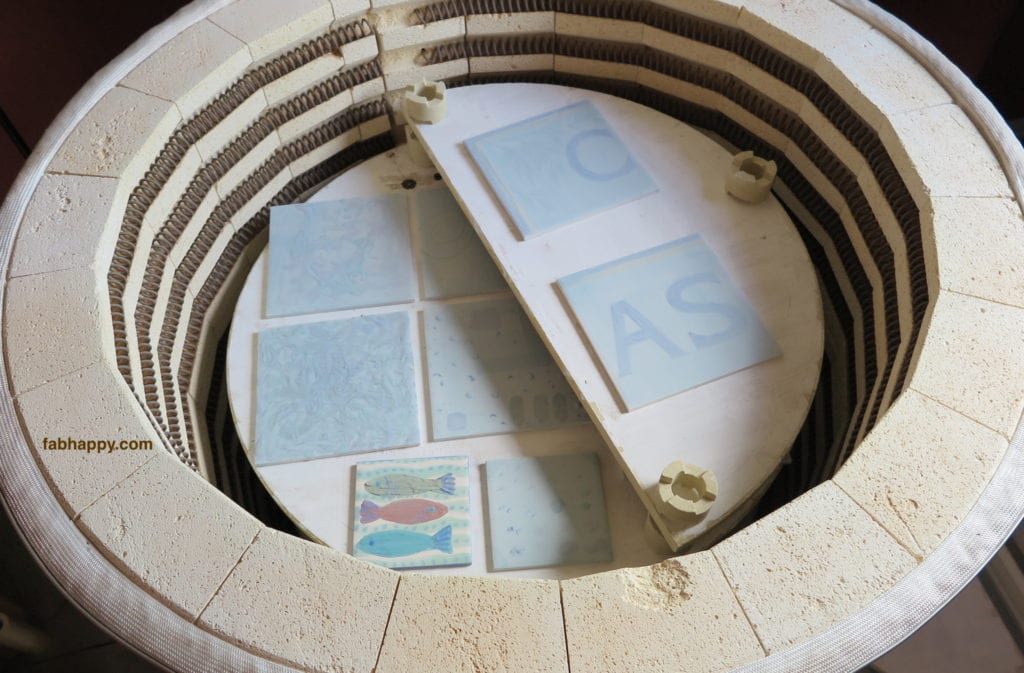
Using a half-shelf to try and get everything in.
loading the kiln
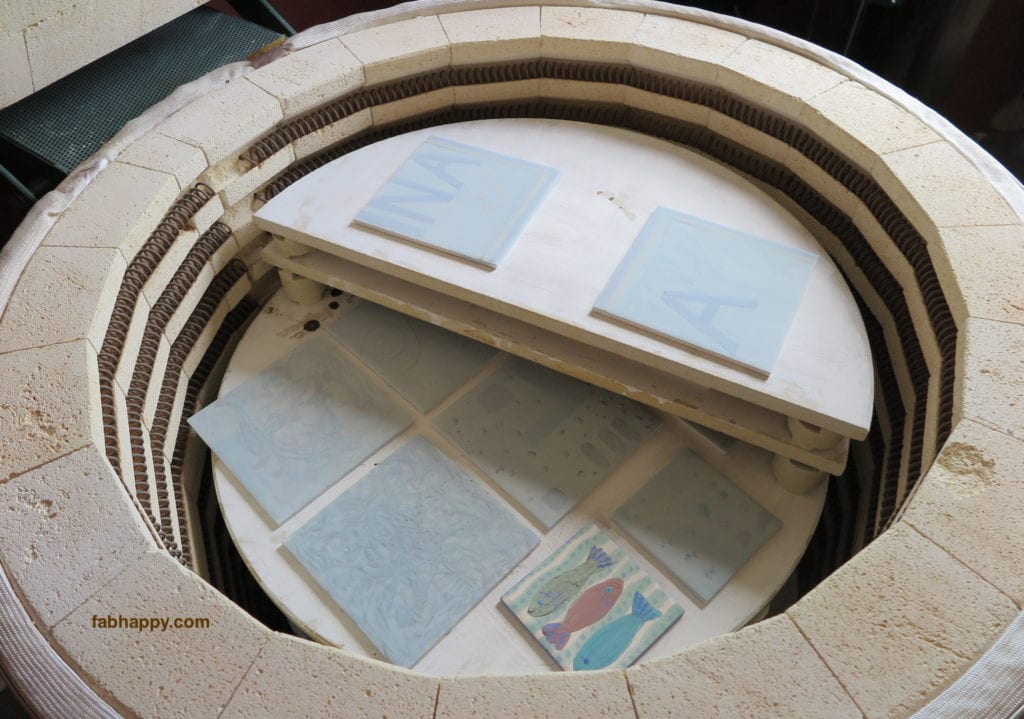
Using a second half-shelf, and everything is in!

So now, after loading the kiln, it’s time to close the lid and set the process off. This bisque firing goes up to a maximum temperature of 1060ºC, which is also fine for some of the pre-mixed coloured glazes that we use as well. So, some of the pieces will be simply bisque fired and require a second, glaze firing that goes to an even higher temperature. The pieces with the pre-mixed coloured glazes will be complete when they come out of this bisque firing.

It’s always exciting to see how things turn out (sometimes it’s depressing when things don’t work well) and if something surprisingly good turns up. All I can do now is wait, and let the kiln do its thing.

Written by Peter · Categorized: In the studio · Tagged: bisque, kiln

May 06 2019

Pugmill Day

Two weeks ago it was Pugmill Day! For me, this is one of the major technical days associated with pottery where old clay is recycled, mixed with new clay, with the aim of creating clay that has just the right softness and moisture to be ideal for throwing on the wheel. It takes me about 3 hours to go through the whole process so it’s a little bit daunting as well has physically demanding, but it’s important to get it right because throwing on the wheel is so much easier when the clay is well prepared.

So Pugmill Day is a big day and I’ve documented some of it below with a few photos.

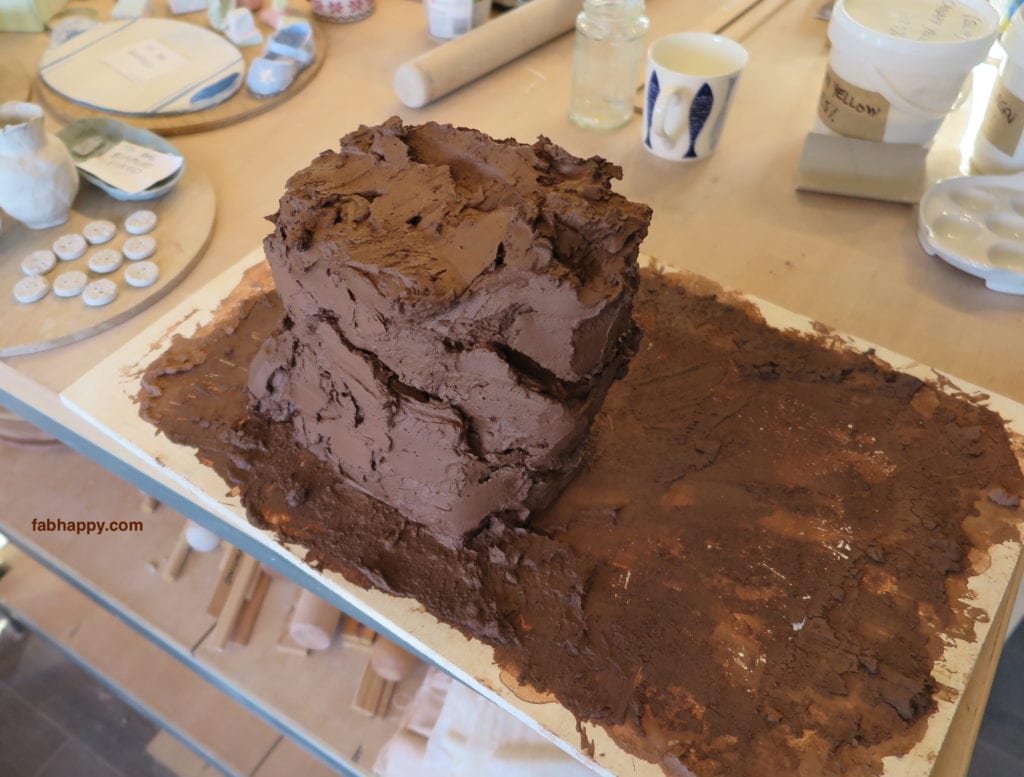
One of the good things about pottery is the ability to recycle any clay that is discarded. The process here is to let all the discards dry out, make sure they’re broken into small pieces, put them all in a bucket and soak them in water for about 48 hours. Then the sludge can be poured onto a board and fashioned into something like a huge cake, so it can slowly dry. We don’t want this cake to fully dry, it needs to stay fairly moist, so you have to keep an eye on it.

The photo you can see here shows the cake after it has lost of lot of its moisture and I’ve used a large paint scraper to cut it into four quarters and have stacked them on top of each other. This helps to slow down the drying effect until I’m ready to run the pugmill. If it’s drying too much I can cover it in plastic.

recycled clay
[click the image to see it full size]

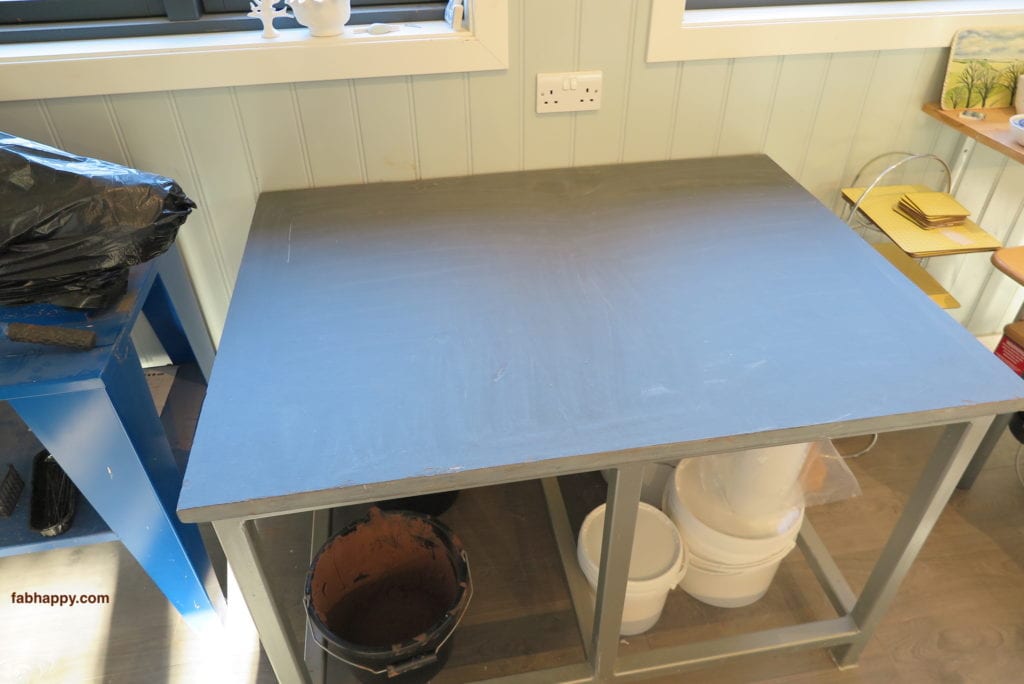
There’s now quite a bit of work to do to be able to run all the clay through the pugmill, so I’ve cleaned off the table (with a heavy slate top) that’s next to the pugmill.

pugmill day
[click the image to see it full size]

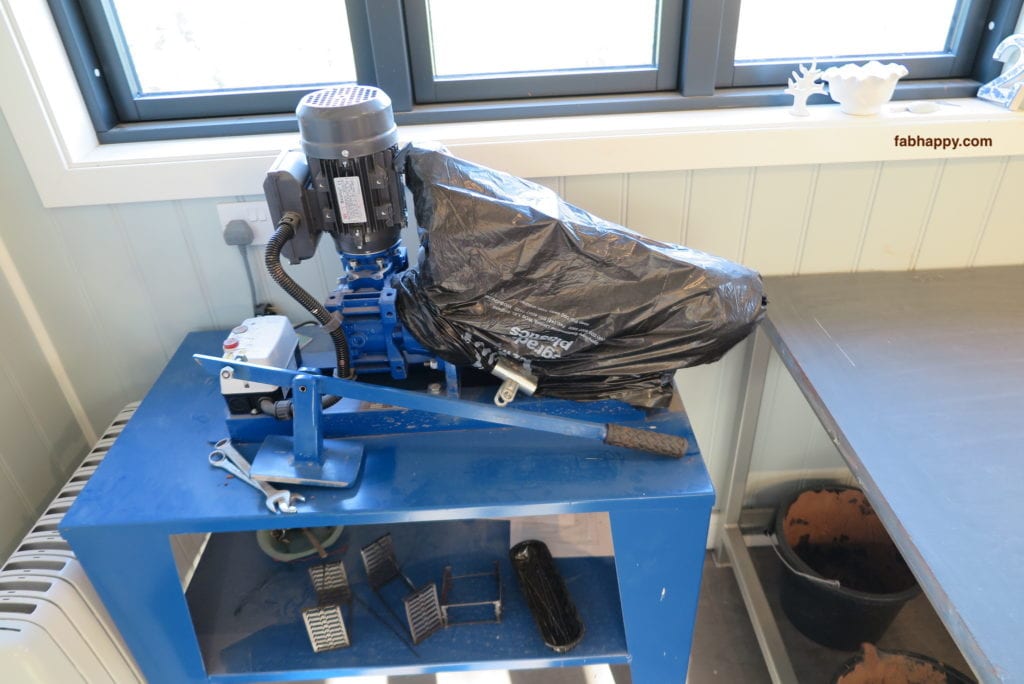
This is the pugmill that’s been bagged up to keep the clay inside it moist. There’s still clay inside it from the last time I used it and if that clay goes hard, it will be a difficult clean up job. The pugmill is similar to a meat grinder, but for clay.

the pugmill covered up to keep it moist
[click the image to see it full size]

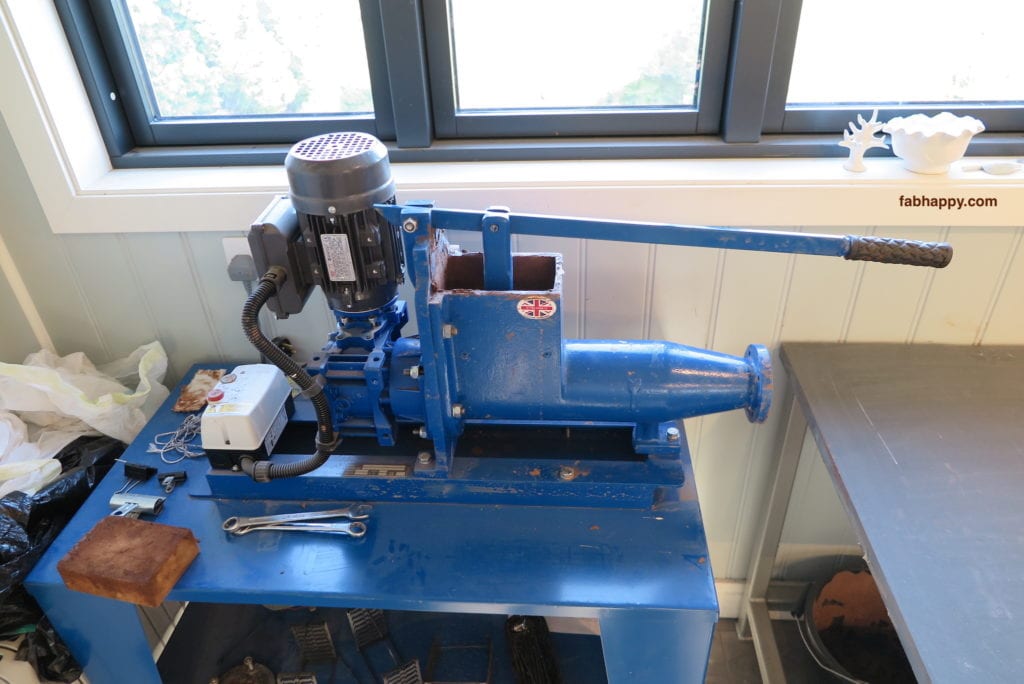
Here’s the pugmill without the bags and with the leverage handle replaced. It’s all ready to go now.

Clay goes in the rectangular opening (the hopper) at the top, you push it down using the lever, the auger inside mixes it all together and a tube of clay comes out the right hand side.

pugmill day
[click the image to see it full size]

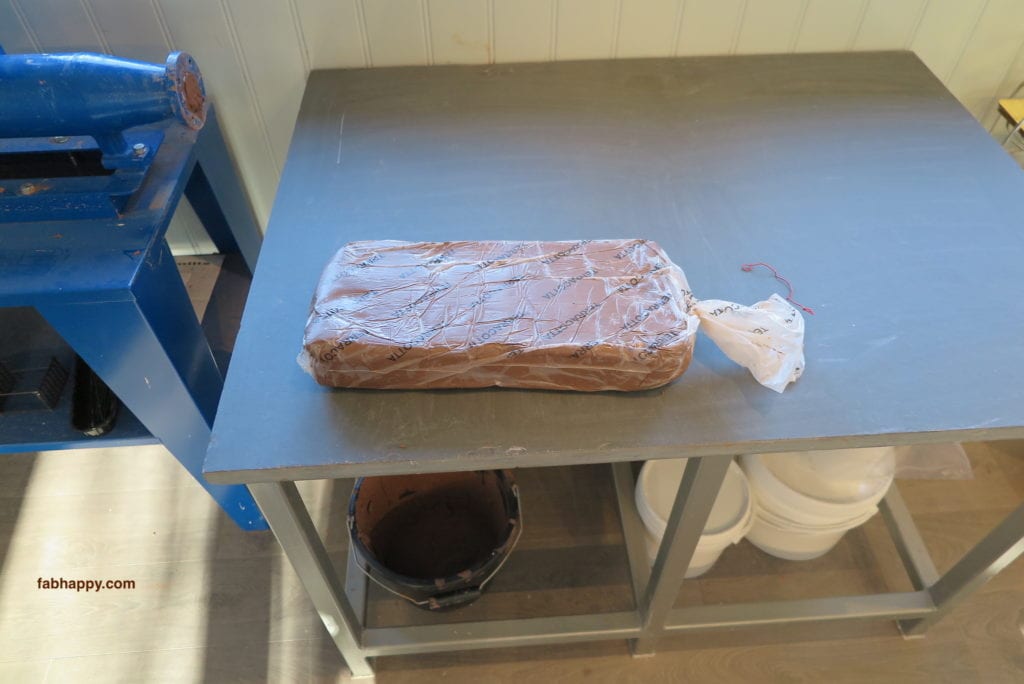
New clay comes in a bag like this when it’s bought. It’s just clay from out of the ground, but it has been professionally cleaned and prepared. If the clay is soft enough, it can be thrown on the wheel directly, but often it starts getting a little hard.

pugmill day
[click the image to see it full size]

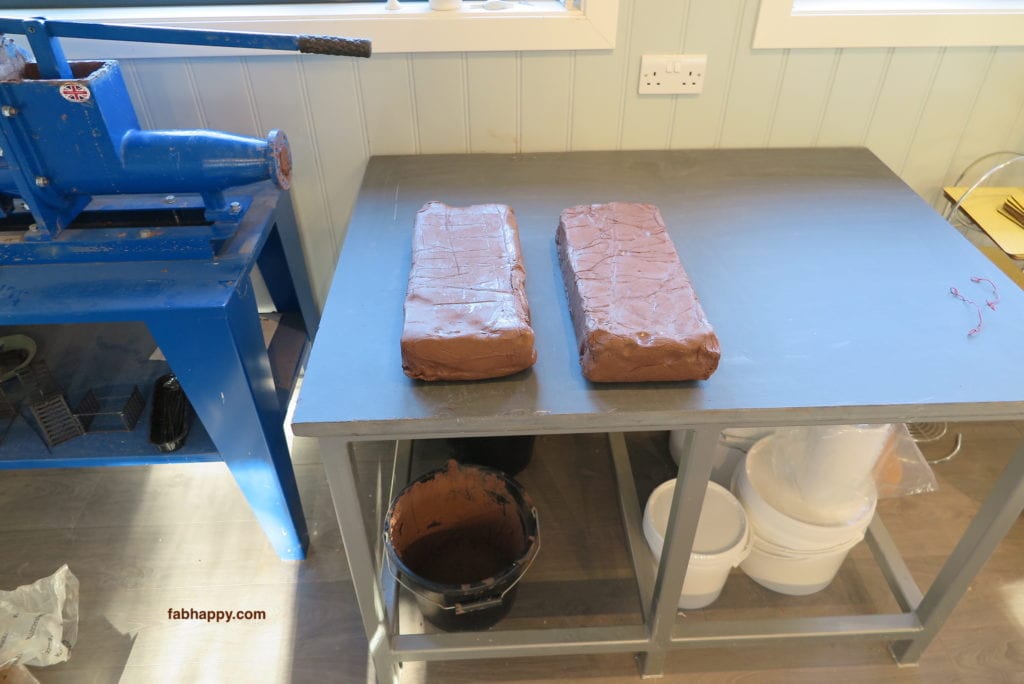
Here are two bags of new clay out of their plastic bags. I’m going to mix these two lots of new clay with the recycled clay.

new clay to mix with the recycled
[click the image to see it full size]

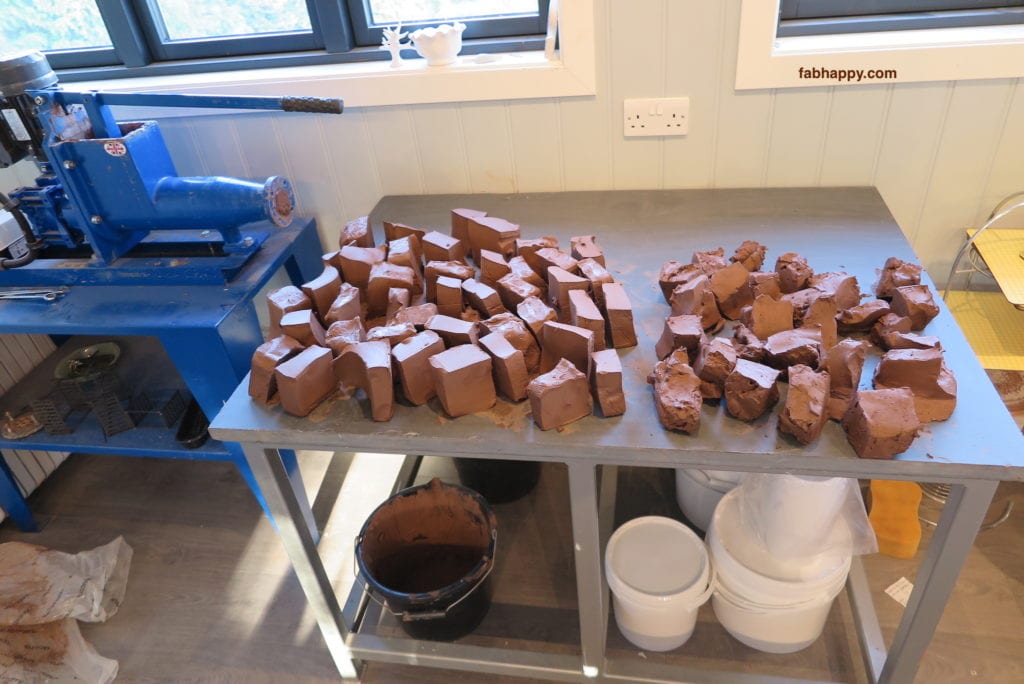
Using a cutting wire, I’ve cut all the new clay and the recycled clay into blocks that will fit into the pugmill. I’ll be sure to combine new and old with each load in the pugmill.

pugmill day
[click the image to see it full size]

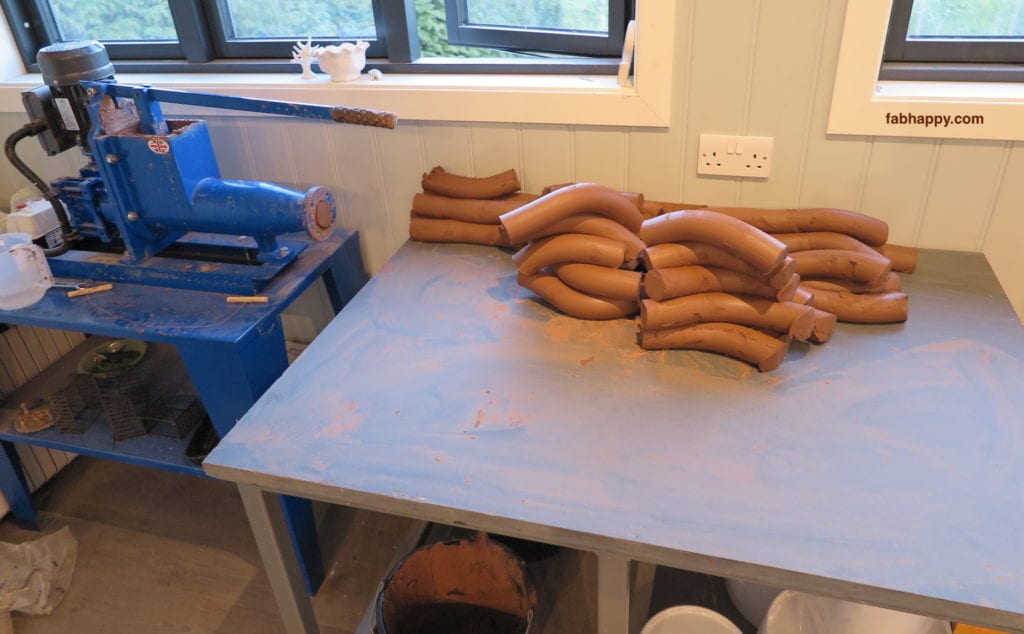
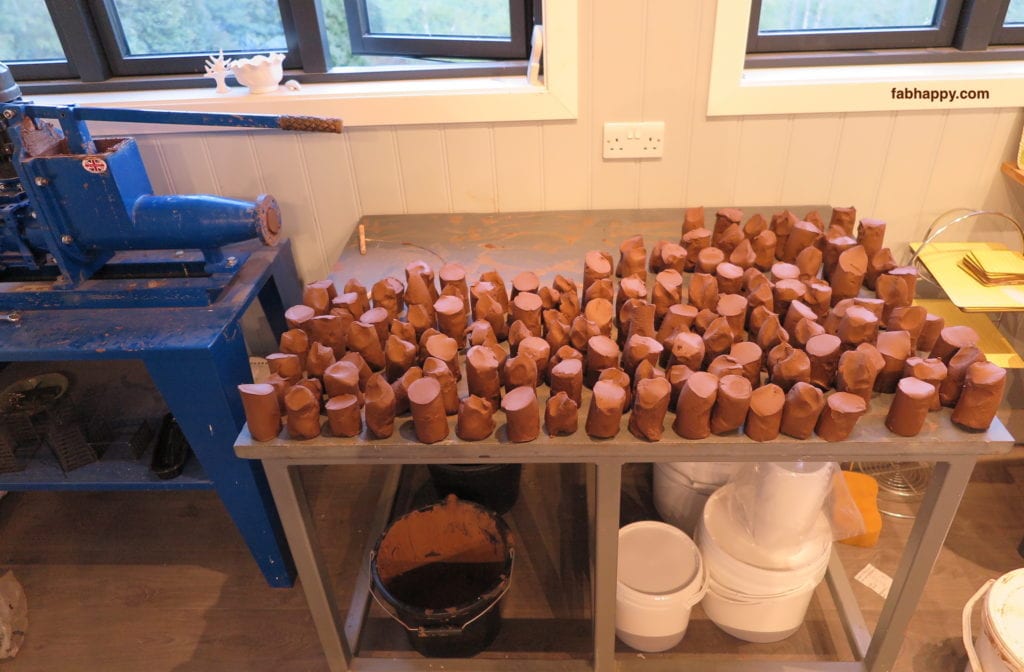
Here are all the “sausages” of clay that have come out of the pugmill. The new and old clay have been mixed together, but not well enough yet. It all has to go through the pugmill one more time.

pugmill day
[click the image to see it full size]

Now I’ve cut up all the first-time “sausages” into smaller pieces that will fit back into the pugmill. I’ve been sure to mix up these small sausage pieces on the table to help increase the blending of all the clay.

pugmill day
[click the image to see it full size]

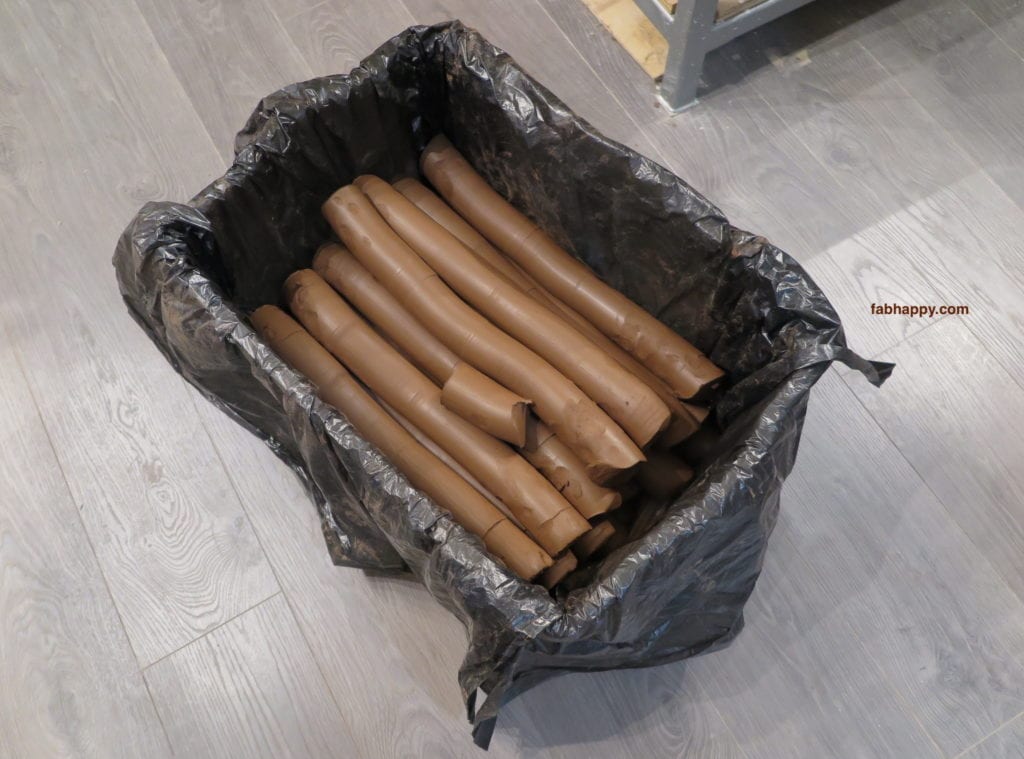
After the second time through the pugmill, I cut the sausages into lengths that would fit in my storage bin. It’s important not to let the clay dry out, so I cover it in two layers of plastic and store it in a bin with a lid.

new clay ready to go
[click the image to see it full size]

So, after about three hours of fairly hard work (maybe I’m a bit slow, but that includes the prep and the clean-up), I’m excited to have some fresh clay ready for throwing on the wheel.

One thing I didn’t mention is that I had mistakenly let the recycled clay dry out a bit too much, so I needed to add some moisture to get the clay the way I like it for throwing. Each time I put some clay in the pugmill hopper, I added a dash of water. Gradually this got the clay to a very nice consistency.

So Pugmill Day is over for now. I can put my feet up for a while and look forward to throwing some new bowls, plates, mugs, vases, etc.

A related link from Ceramic Art Network – Six Key Considerations When Shopping for a Pug Mill or Clay Mixer

And from The Spruce Crafts – What a Pug Mill is and How to Use One

Written by Peter · Categorized: In the studio · Tagged: clay, pugmill

  • About Us
  • Blog
  • Privacy Policy
  • Subscribe
  • Search
  • Contact

Copyright © 2025 · FabHappy Limited