Two weeks ago it was Pugmill Day! For me, this is one of the major technical days associated with pottery where old clay is recycled, mixed with new clay, with the aim of creating clay that has just the right softness and moisture to be ideal for throwing on the wheel. It takes me about 3 hours to go through the whole process so it’s a little bit daunting as well has physically demanding, but it’s important to get it right because throwing on the wheel is so much easier when the clay is well prepared.
So Pugmill Day is a big day and I’ve documented some of it below with a few photos.
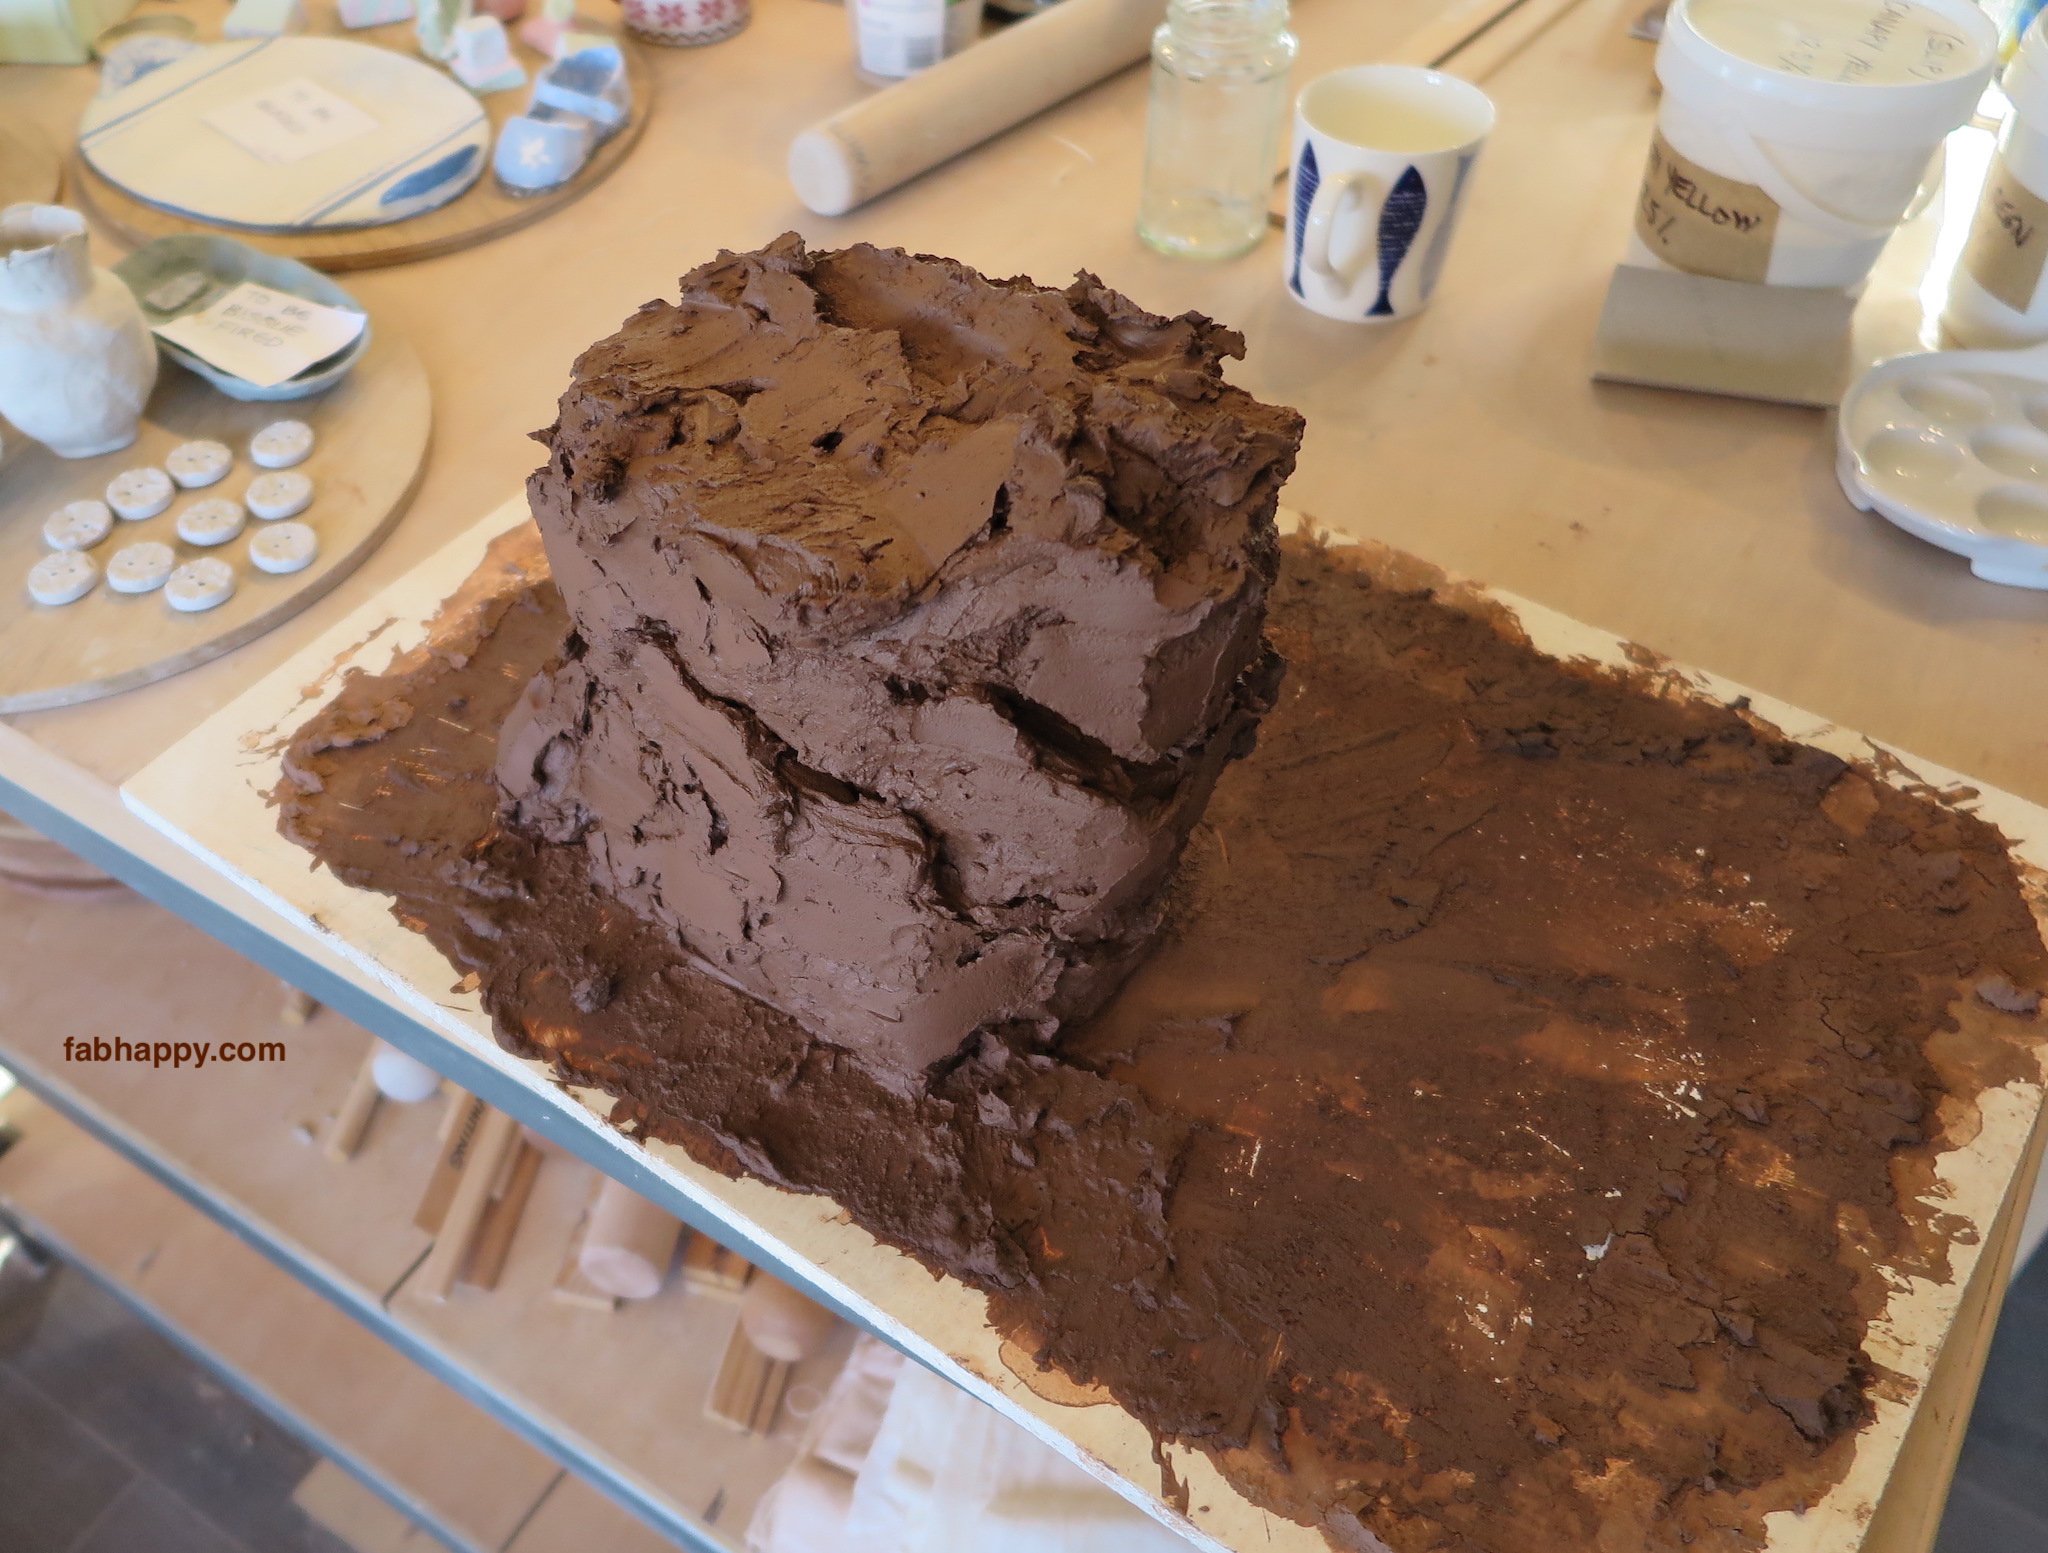
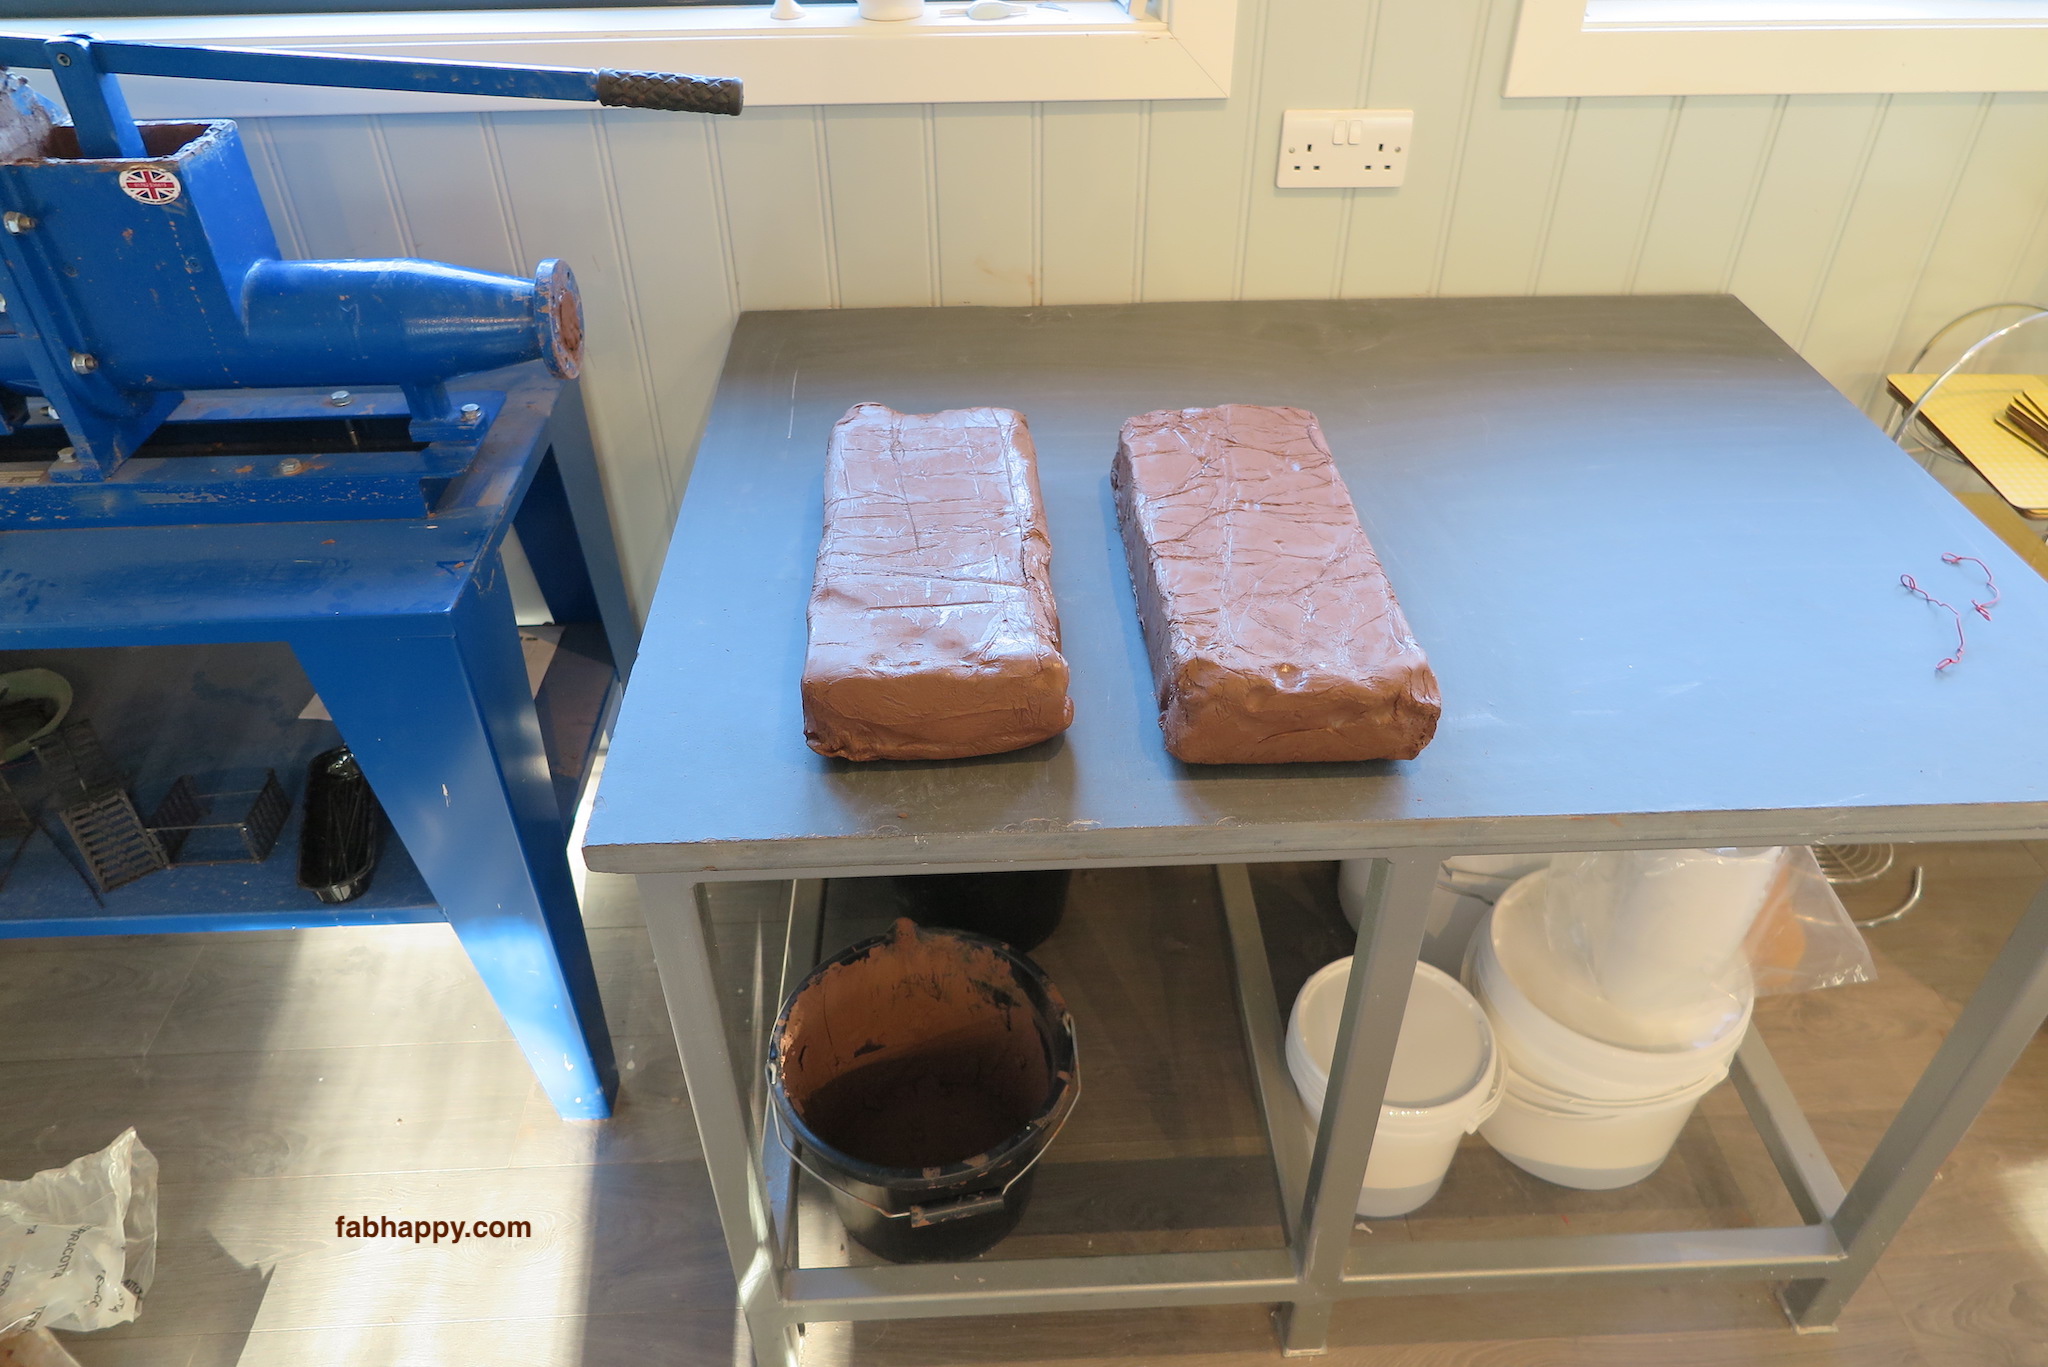
One of the good things about pottery is the ability to recycle any clay that is discarded. The process here is to let all the discards dry out, make sure they’re broken into small pieces, put them all in a bucket and soak them in water for about 48 hours. Then the sludge can be poured onto a board and fashioned into something like a huge cake, so it can slowly dry. We don’t want this cake to fully dry, it needs to stay fairly moist, so you have to keep an eye on it.
The photo you can see here shows the cake after it has lost of lot of its moisture and I’ve used a large paint scraper to cut it into four quarters and have stacked them on top of each other. This helps to slow down the drying effect until I’m ready to run the pugmill. If it’s drying too much I can cover it in plastic.
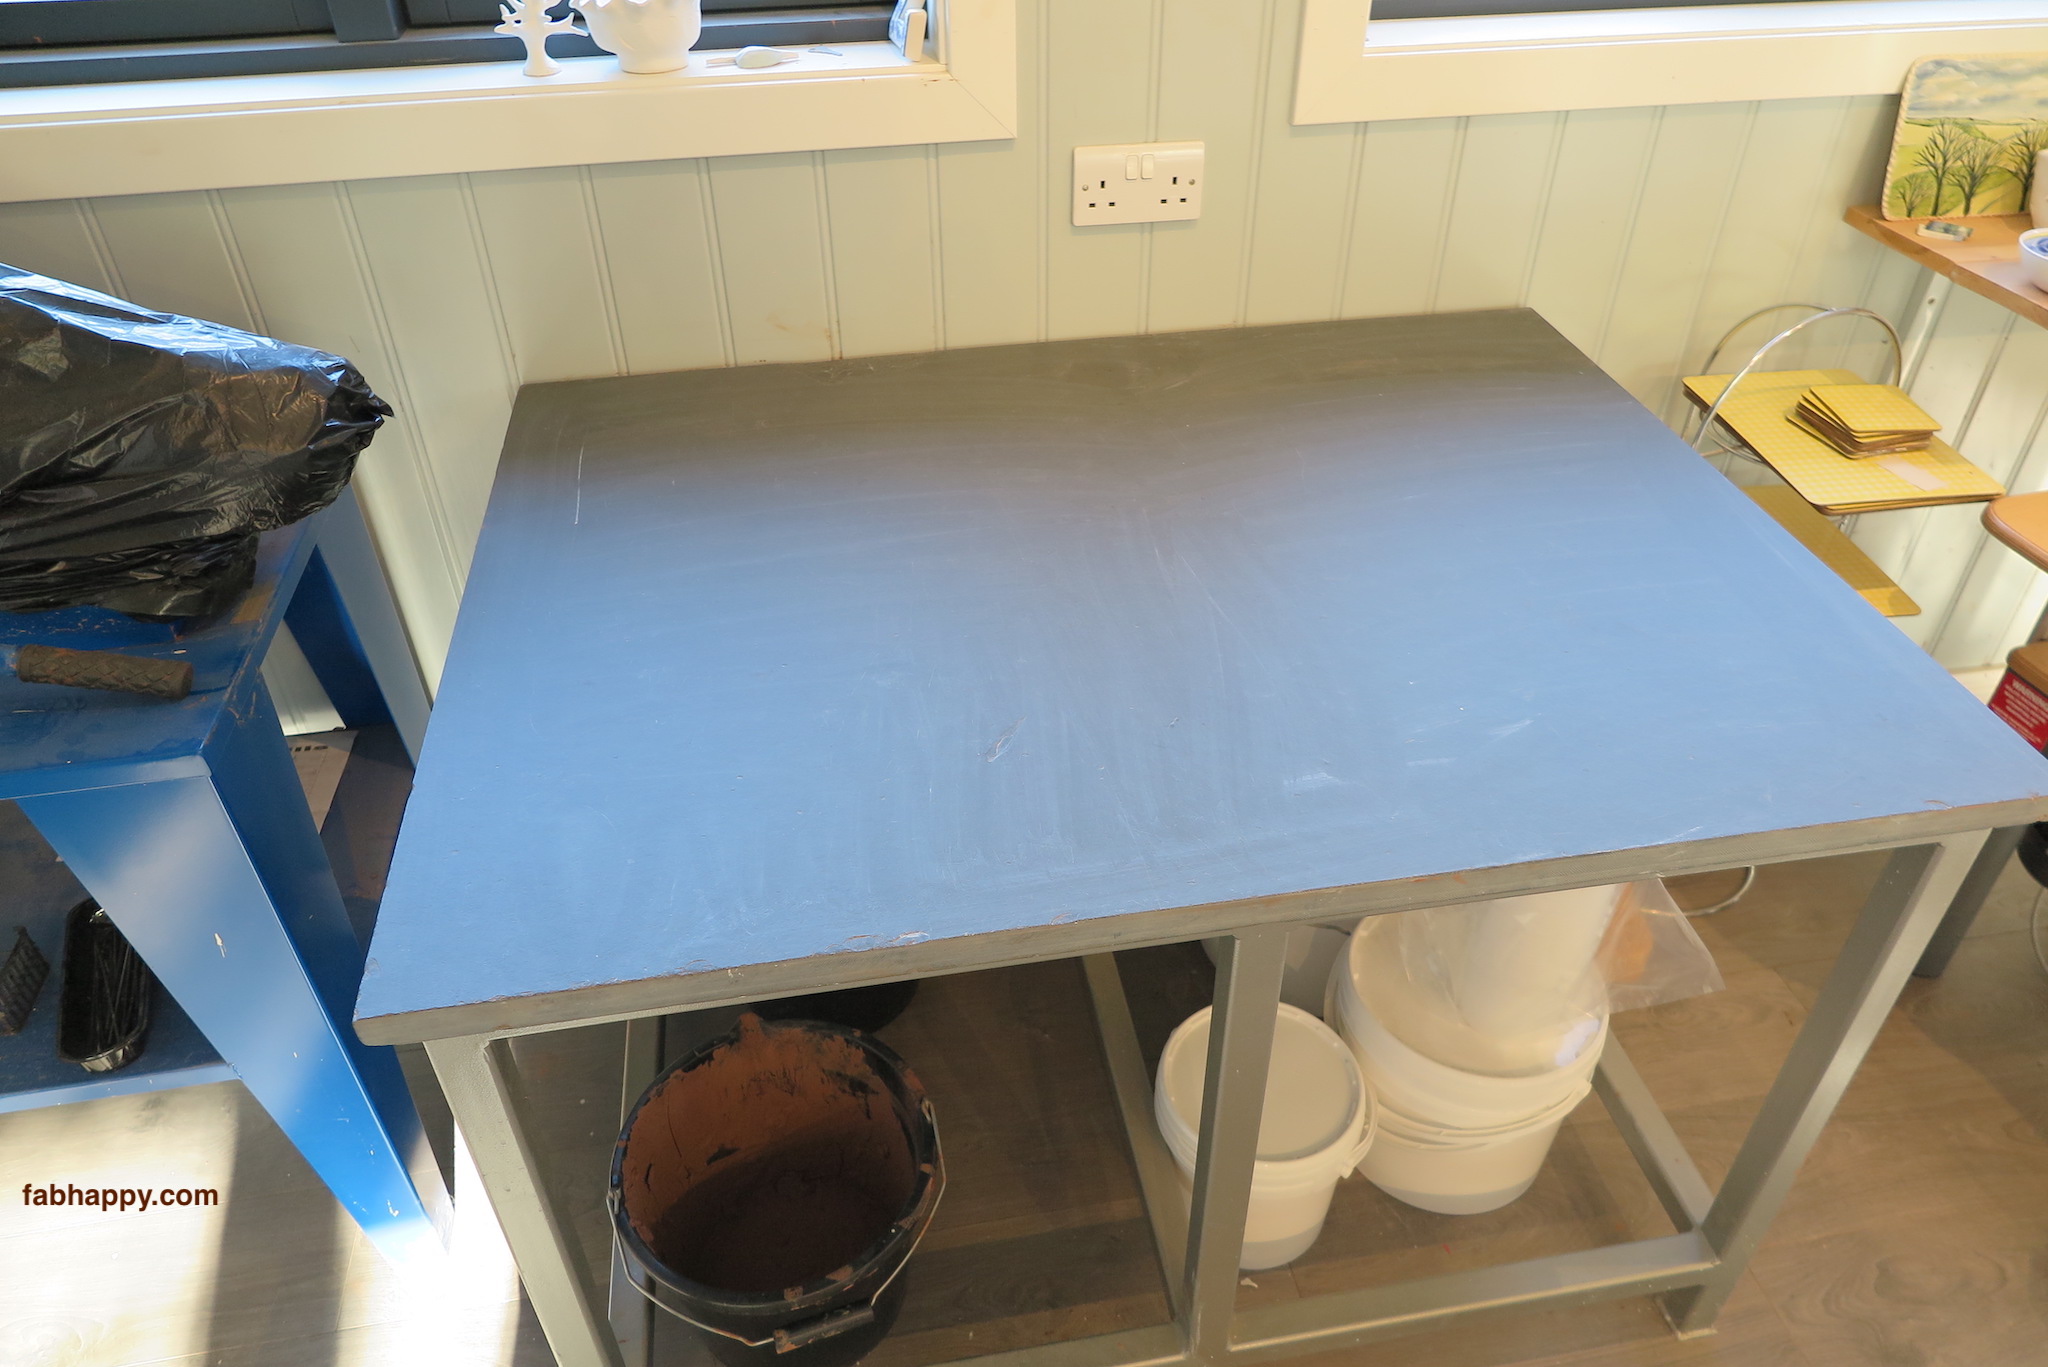
There’s now quite a bit of work to do to be able to run all the clay through the pugmill, so I’ve cleaned off the table (with a heavy slate top) that’s next to the pugmill.
This is the pugmill that’s been bagged up to keep the clay inside it moist. There’s still clay inside it from the last time I used it and if that clay goes hard, it will be a difficult clean up job. The pugmill is similar to a meat grinder, but for clay.
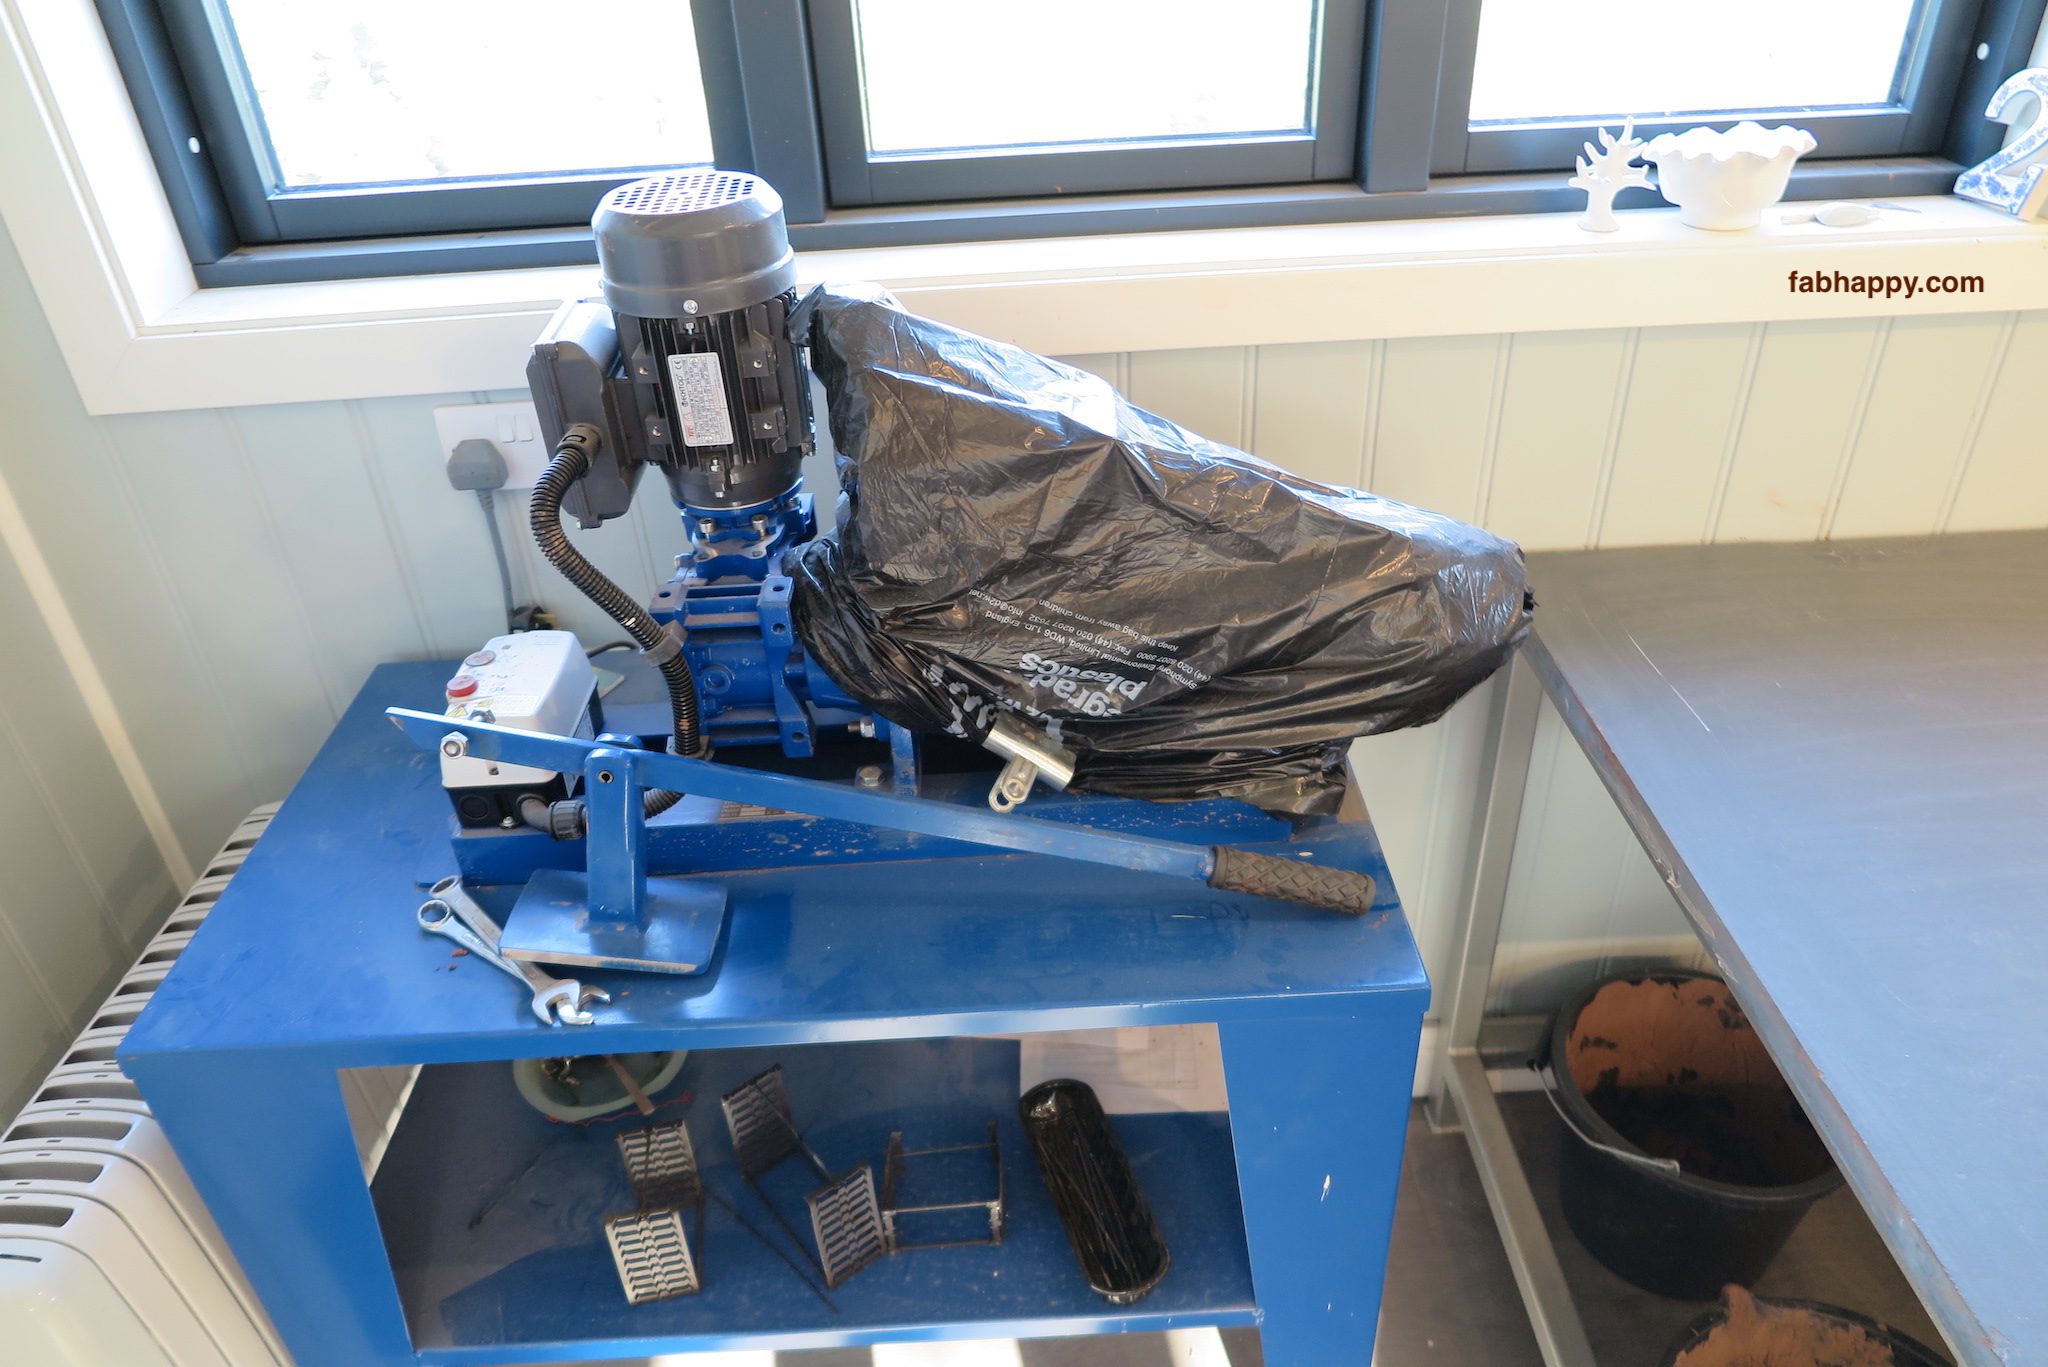
Here’s the pugmill without the bags and with the leverage handle replaced. It’s all ready to go now.
Clay goes in the rectangular opening (the hopper) at the top, you push it down using the lever, the auger inside mixes it all together and a tube of clay comes out the right hand side.

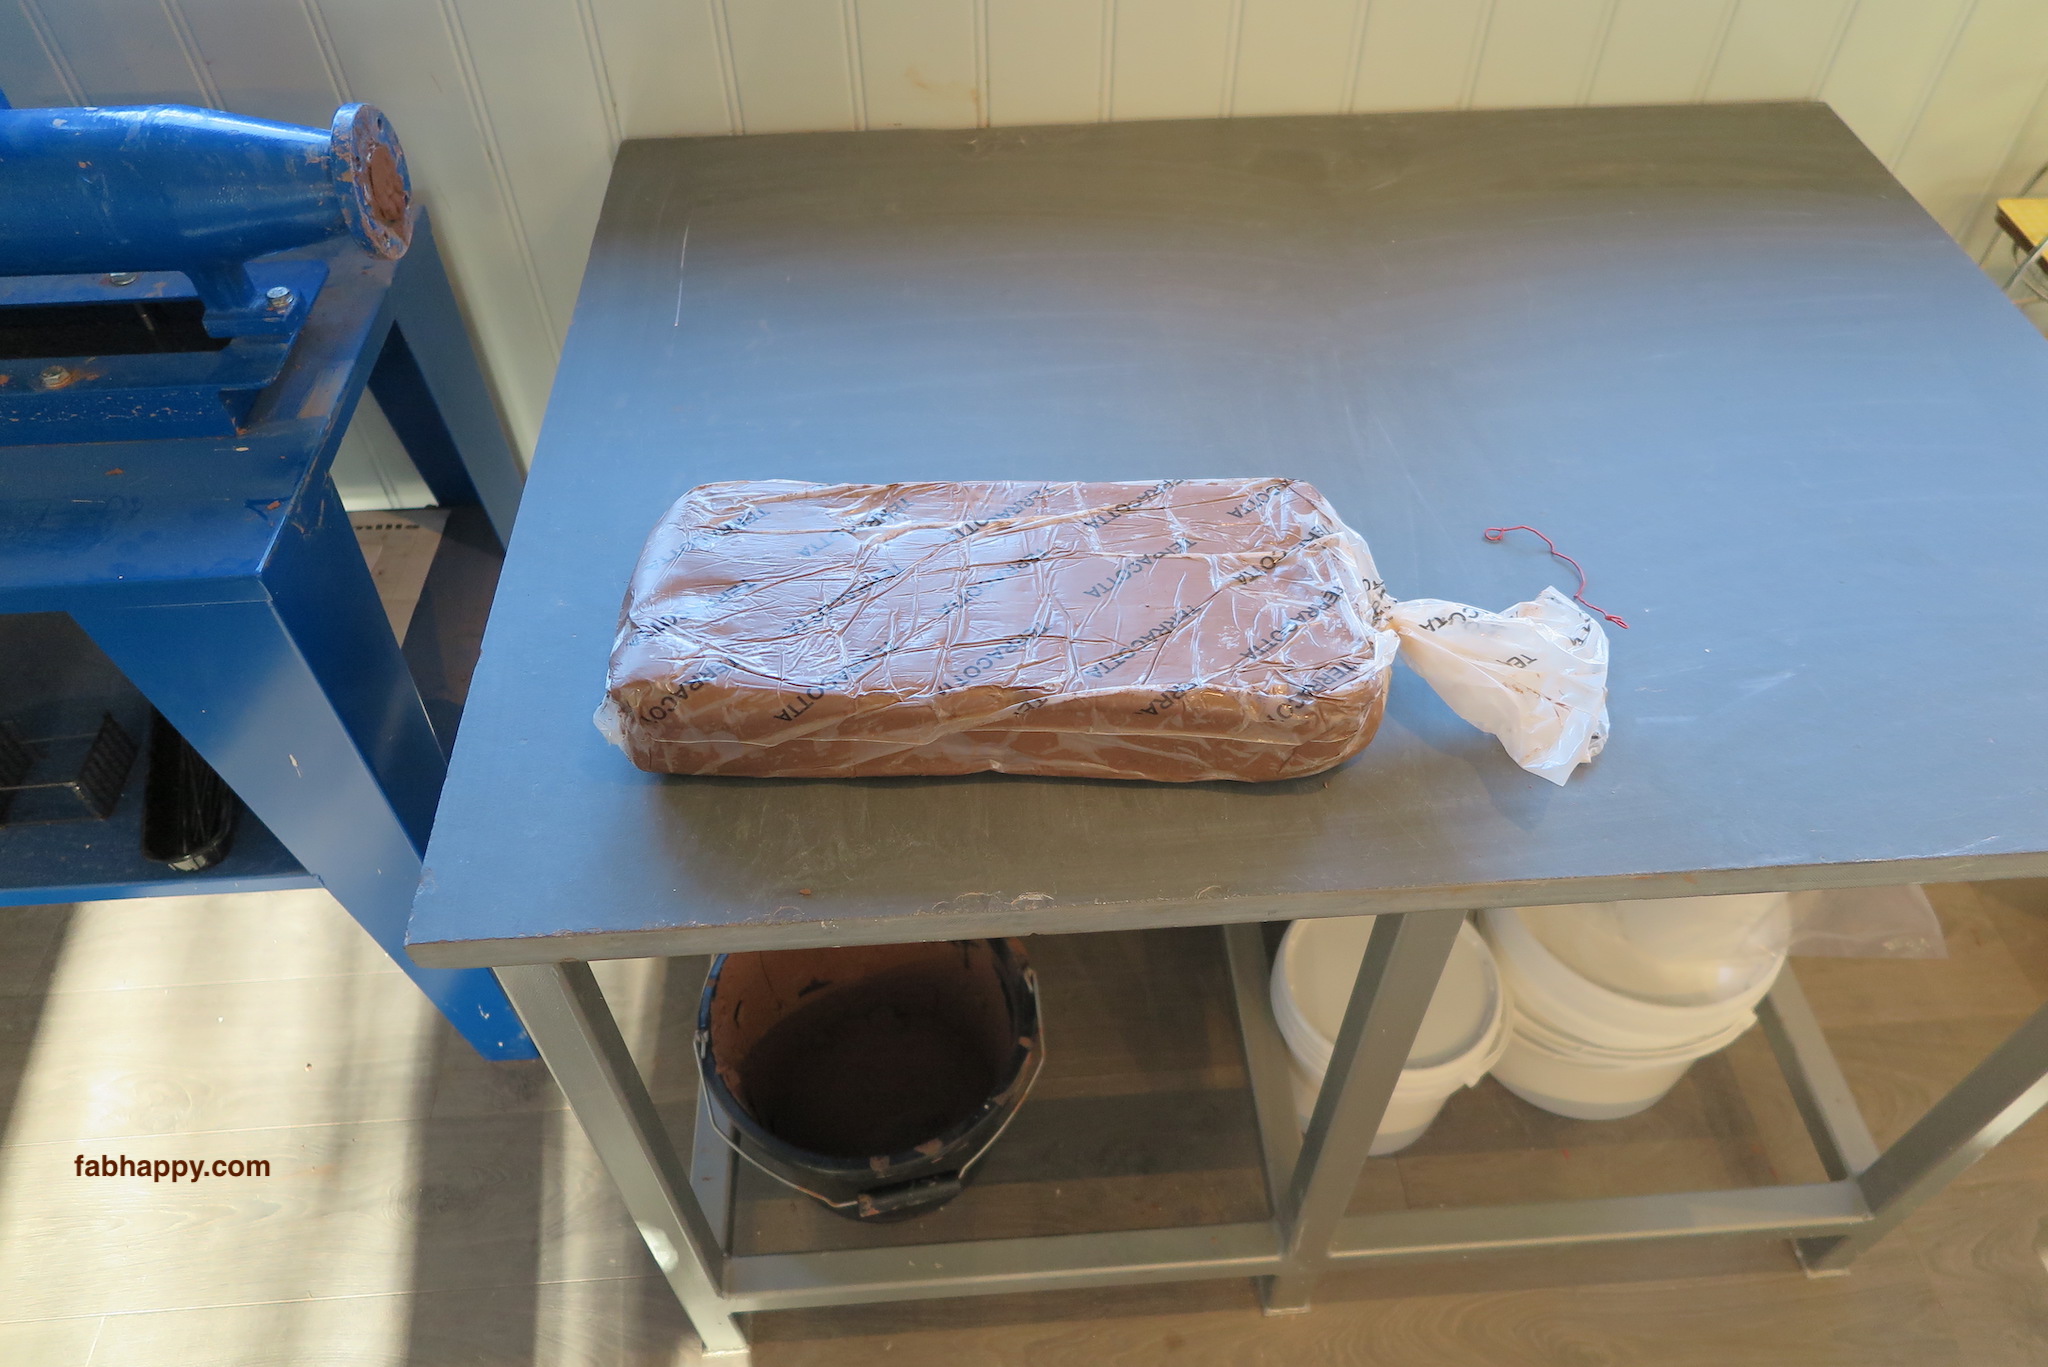
New clay comes in a bag like this when it’s bought. It’s just clay from out of the ground, but it has been professionally cleaned and prepared. If the clay is soft enough, it can be thrown on the wheel directly, but often it starts getting a little hard.
Here are two bags of new clay out of their plastic bags. I’m going to mix these two lots of new clay with the recycled clay.
Using a cutting wire, I’ve cut all the new clay and the recycled clay into blocks that will fit into the pugmill. I’ll be sure to combine new and old with each load in the pugmill.

Here are all the “sausages” of clay that have come out of the pugmill. The new and old clay have been mixed together, but not well enough yet. It all has to go through the pugmill one more time.
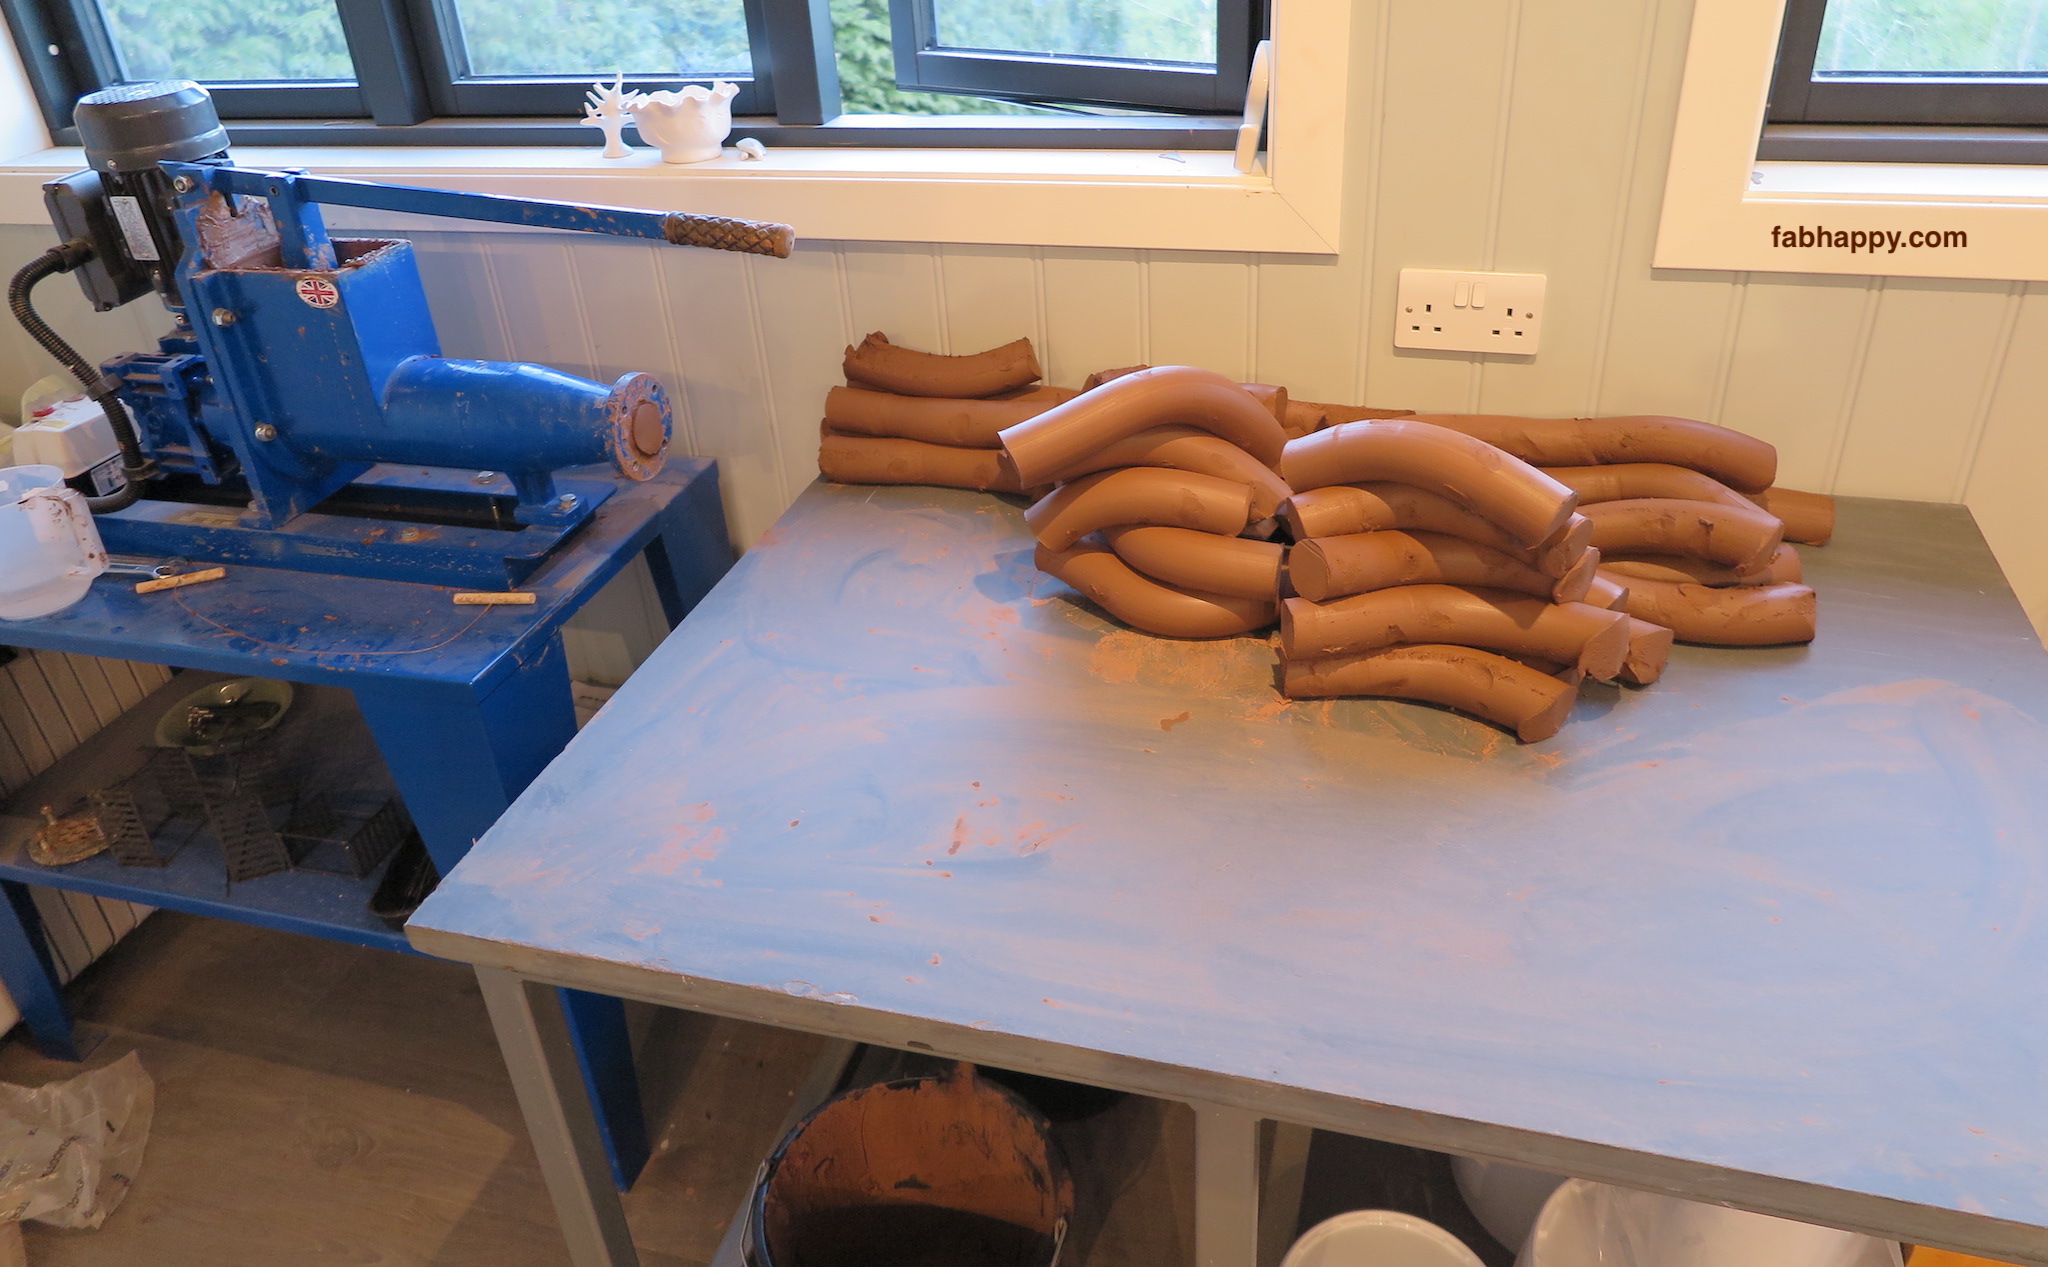
Now I’ve cut up all the first-time “sausages” into smaller pieces that will fit back into the pugmill. I’ve been sure to mix up these small sausage pieces on the table to help increase the blending of all the clay.

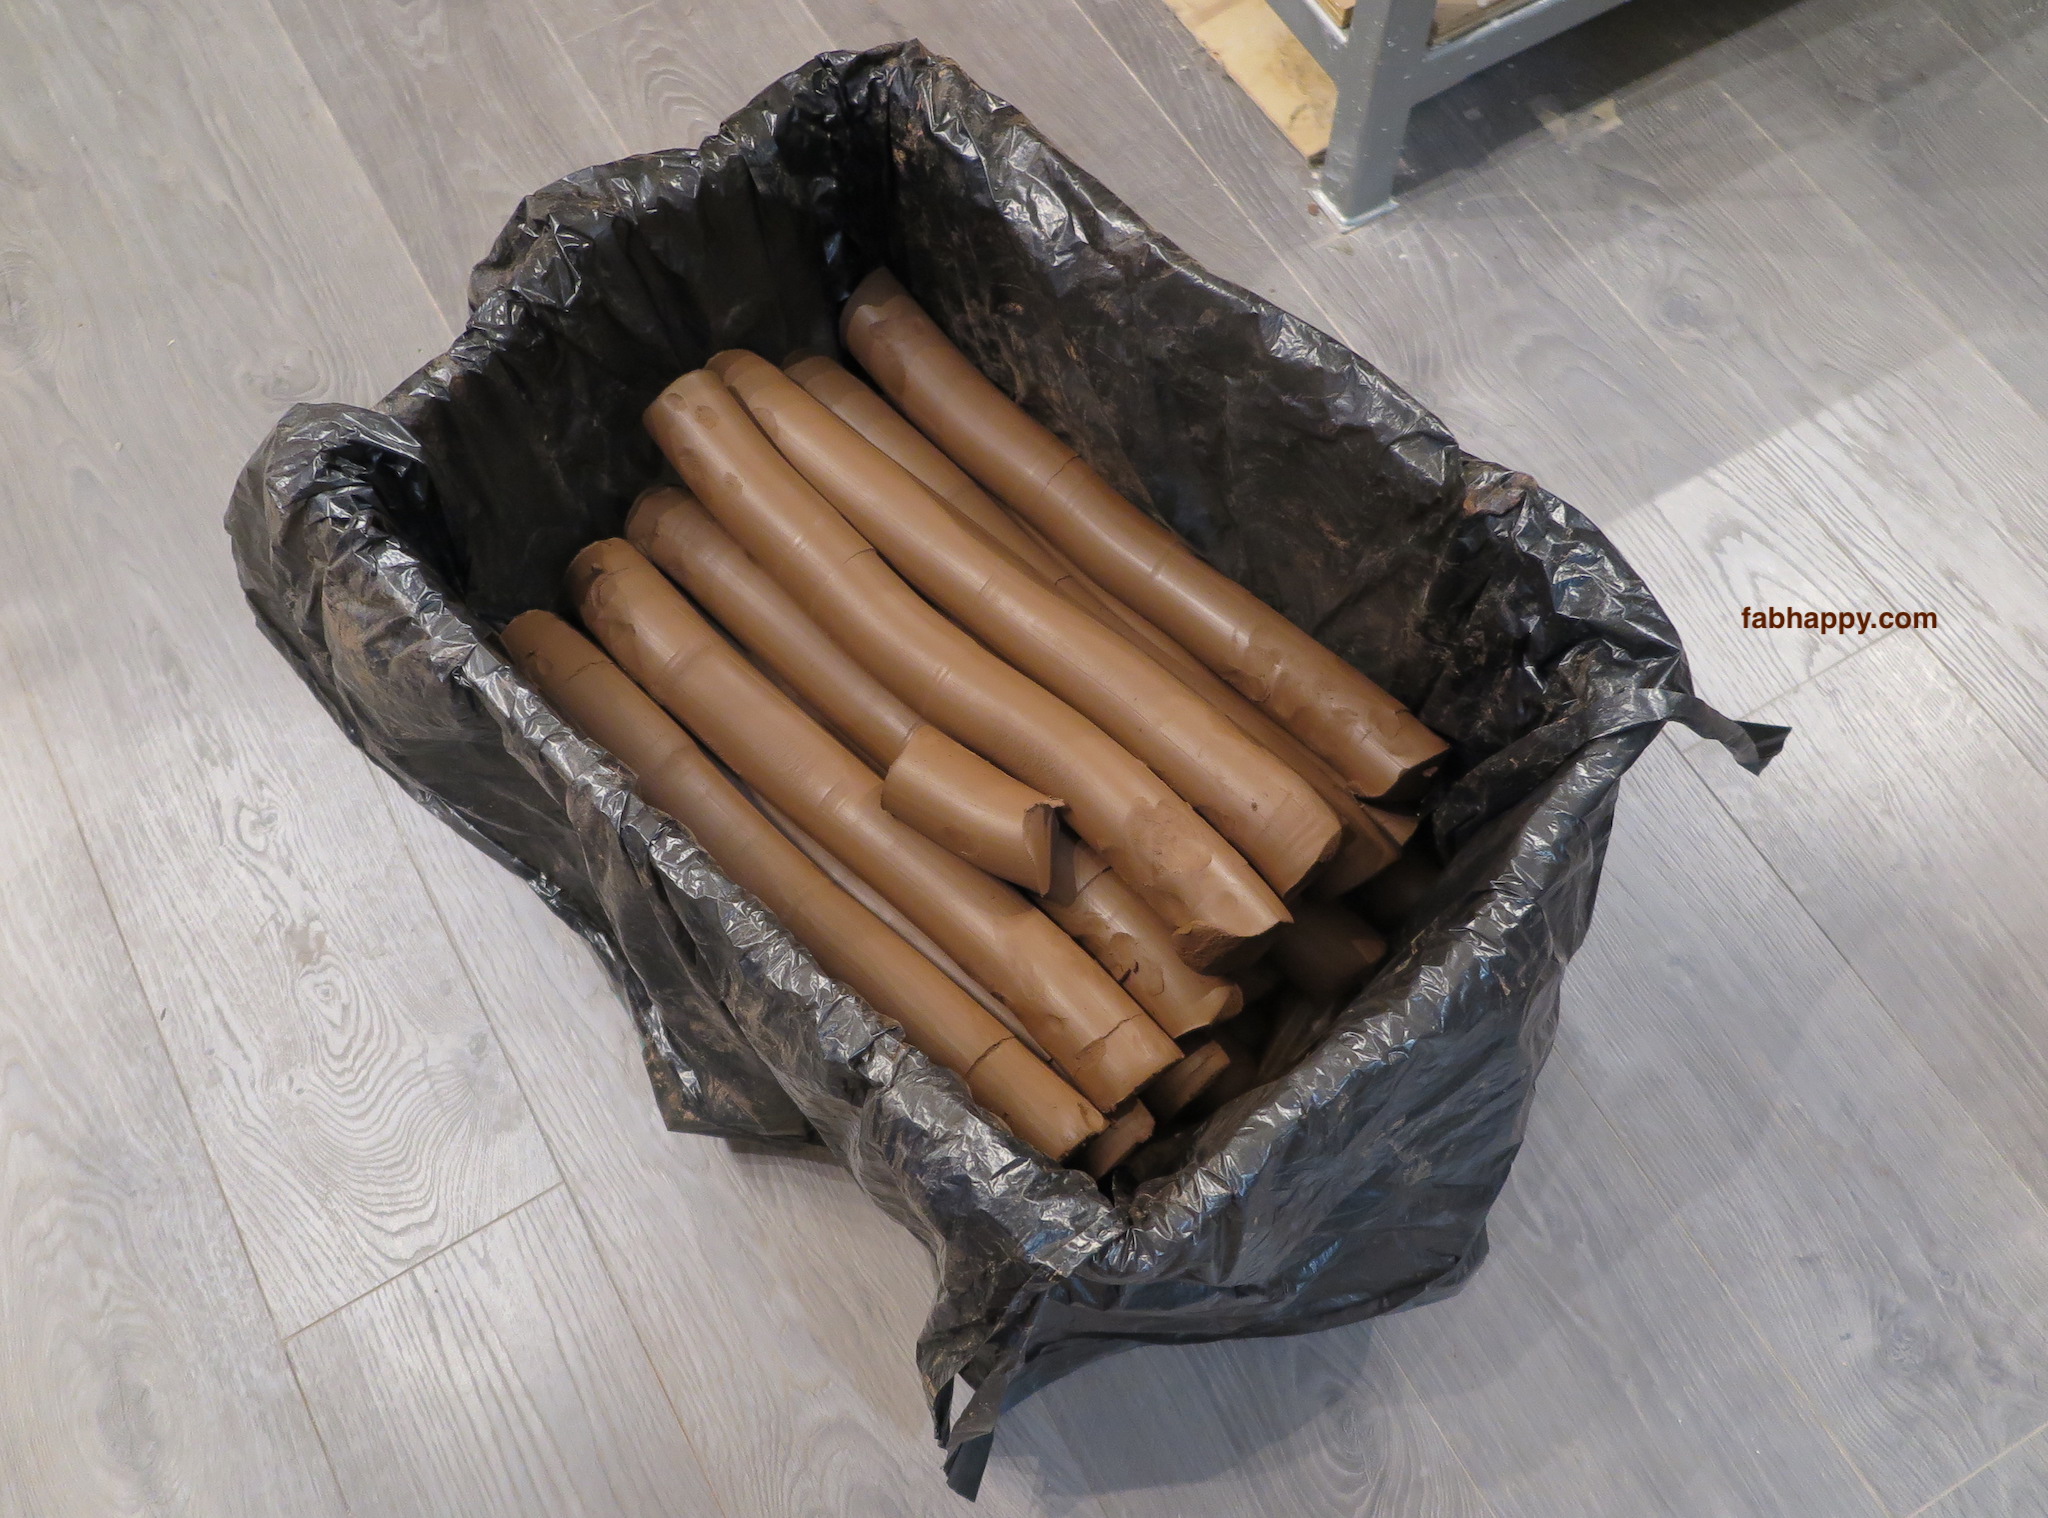
After the second time through the pugmill, I cut the sausages into lengths that would fit in my storage bin. It’s important not to let the clay dry out, so I cover it in two layers of plastic and store it in a bin with a lid.
So, after about three hours of fairly hard work (maybe I’m a bit slow, but that includes the prep and the clean-up), I’m excited to have some fresh clay ready for throwing on the wheel.
One thing I didn’t mention is that I had mistakenly let the recycled clay dry out a bit too much, so I needed to add some moisture to get the clay the way I like it for throwing. Each time I put some clay in the pugmill hopper, I added a dash of water. Gradually this got the clay to a very nice consistency.
So Pugmill Day is over for now. I can put my feet up for a while and look forward to throwing some new bowls, plates, mugs, vases, etc.
A related link from Ceramic Art Network – Six Key Considerations When Shopping for a Pug Mill or Clay Mixer
And from The Spruce Crafts – What a Pug Mill is and How to Use One